cloudera cloudera离线安装
Last updated on February 9, 2026 am
🧙 Questions
离线安装cdh6.2.0
☄️ Ideas
前提
关闭防火墙
systemctl disable firewalld
systemctl stop firewalld
systemctl status firewalld
修改hostname
#172.16.215.83 iZ8vbgxsdbuxmnqr4qd0ykZ iZ8vbgxsdbuxmnqr4qd0ykZ
172.16.215.83 isxcode
如果有多台服务器,都需要配置
hostnamectl set-hostname isxcode
vim /etc/hosts
关闭selinux
setenforce 0
getenforce
关闭swap分区
swapoff -a
free -m
优化系统
echo never > /sys/kernel/mm/transparent_hugepage/defrag
echo never > /sys/kernel/mm/transparent_hugepage/enabled
挂载磁盘
挂载磁盘,绑定/data
mkdir -p /data上传资源
需要资源邮箱找我
scp -r /Users/ispong/OneDrive/Downloads/cdh root@47.92.80.91:/tmp创建用户
useradd cdh
passwd cdh
vim /etc/sudoers
#/ Allow root to run any commands anywhere
# cdh ALL =(ALL) NOPASSWD: ALL安装基础软件
最好每台服务器都装一下
如果不行,使用–force
sudo yum remove python3 -y
cd /tmp/cdh/rpm/python3
sudo rpm -ivh ./* --nosignature

cd /tmp/cdh/rpm/createrepo
sudo rpm -ivh ./* --nosignature

cd /tmp/cdh/rpm/bind-utils
sudo rpm -ivh ./* --nosignature

cd /tmp/cdh/rpm/unzip
sudo rpm -ivh ./* --nosignature

# 这个一定要装
cd /tmp/cdh/rpm/httpd
sudo rpm -ivh ./* --nosignature

# 这个一定要装
cd /tmp/cdh/rpm/postgres
sudo rpm -ivh ./* --nosignature

# 如果包中有冲突文件,直接删除
sudo yum remove java-1.8.0-openjdk-headless -y
cd /tmp/cdh/rpm/openjdk
sudo rpm -ivh ./* --nosignature
安装时区同步
每台都要做
cd /tmp/cdh/rpm/ntp
rpm -ivh ./* --nosignature
systemctl enable ntpd
systemctl start ntpd
vim /etc/ntp.conf
# server 0.centos.pool.ntp.org iburst
# server 1.centos.pool.ntp.org iburst
# server 2.centos.pool.ntp.org iburst
# server 3.centos.pool.ntp.org iburst
server 10.244.18.169 iburstsystemctl restart ntpd
systemctl status ntpd
ntpq -p
timedatectl status安装mysql驱动
cp /tmp/cdh/jdbc/mysql-connector-java-8.0.23.jar /usr/share/java/mysql-connector-java.jar安装scm
主节点安装 按顺序运行
卸载: yum remove -y cloudera-manager-daemons
cd /tmp/cdh/cdh6.2.0/cloudera-repos-6.2.0
yum install -y cloudera-manager-daemons-6.2.0-968826.el7.x86_64.rpm
yum install -y cloudera-manager-server-6.2.0-968826.el7.x86_64.rpm
yum install -y cloudera-manager-server-db-2-6.2.0-968826.el7.x86_64.rpm
创建数据库
CREATE DATABASE cdh_scm DEFAULT CHARACTER SET utf8 DEFAULT COLLATE utf8_general_ci;
CREATE DATABASE cdh_hive DEFAULT CHARACTER SET utf8 DEFAULT COLLATE utf8_general_ci;
CREATE DATABASE cdh_monitor DEFAULT CHARACTER SET utf8 DEFAULT COLLATE utf8_general_ci;
GRANT ALL PRIVILEGES ON cdh_scm.* TO 'ispong'@'%';
GRANT ALL PRIVILEGES ON cdh_hive.* TO 'ispong'@'%';
GRANT ALL PRIVILEGES ON cdh_monitor.* TO 'ispong'@'%';
Flush Privileges;
初始化数据库
/opt/cloudera/cm/schema/scm_prepare_database.sh -h ${host} -P ${port} mysql ${dbName} ${username} ${password}
会生成 /etc/cloudera-scm-server/db.properties文件
/etc/cloudera-scm-server/log4j.properties
/opt/cloudera/cm/schema/scm_prepare_database.sh -h localhost -P 30306 mysql cdh_scm root Dehoop123..安装httpd
Note: 如果报错先不用管,可能因为80端口被占用
systemctl start httpd
vim /etc/httpd/conf/httpd.conf
# / Listen
#Listen 12.34.56.78:80
Listen 30108systemctl restart httpd
systemctl status httpd上传cdh6_parcel文件
mkdir -p /var/www/html
mkdir -p /data/httpd/cdh6_parcel
ln -s /data/httpd/cdh6_parcel /var/www/html
cp /tmp/cdh/cdh6.2.0/parcel-6.2.0/* /var/www/html/cdh6_parcel

mkdir -p /data/httpd/cdh6_parcel/cm6/
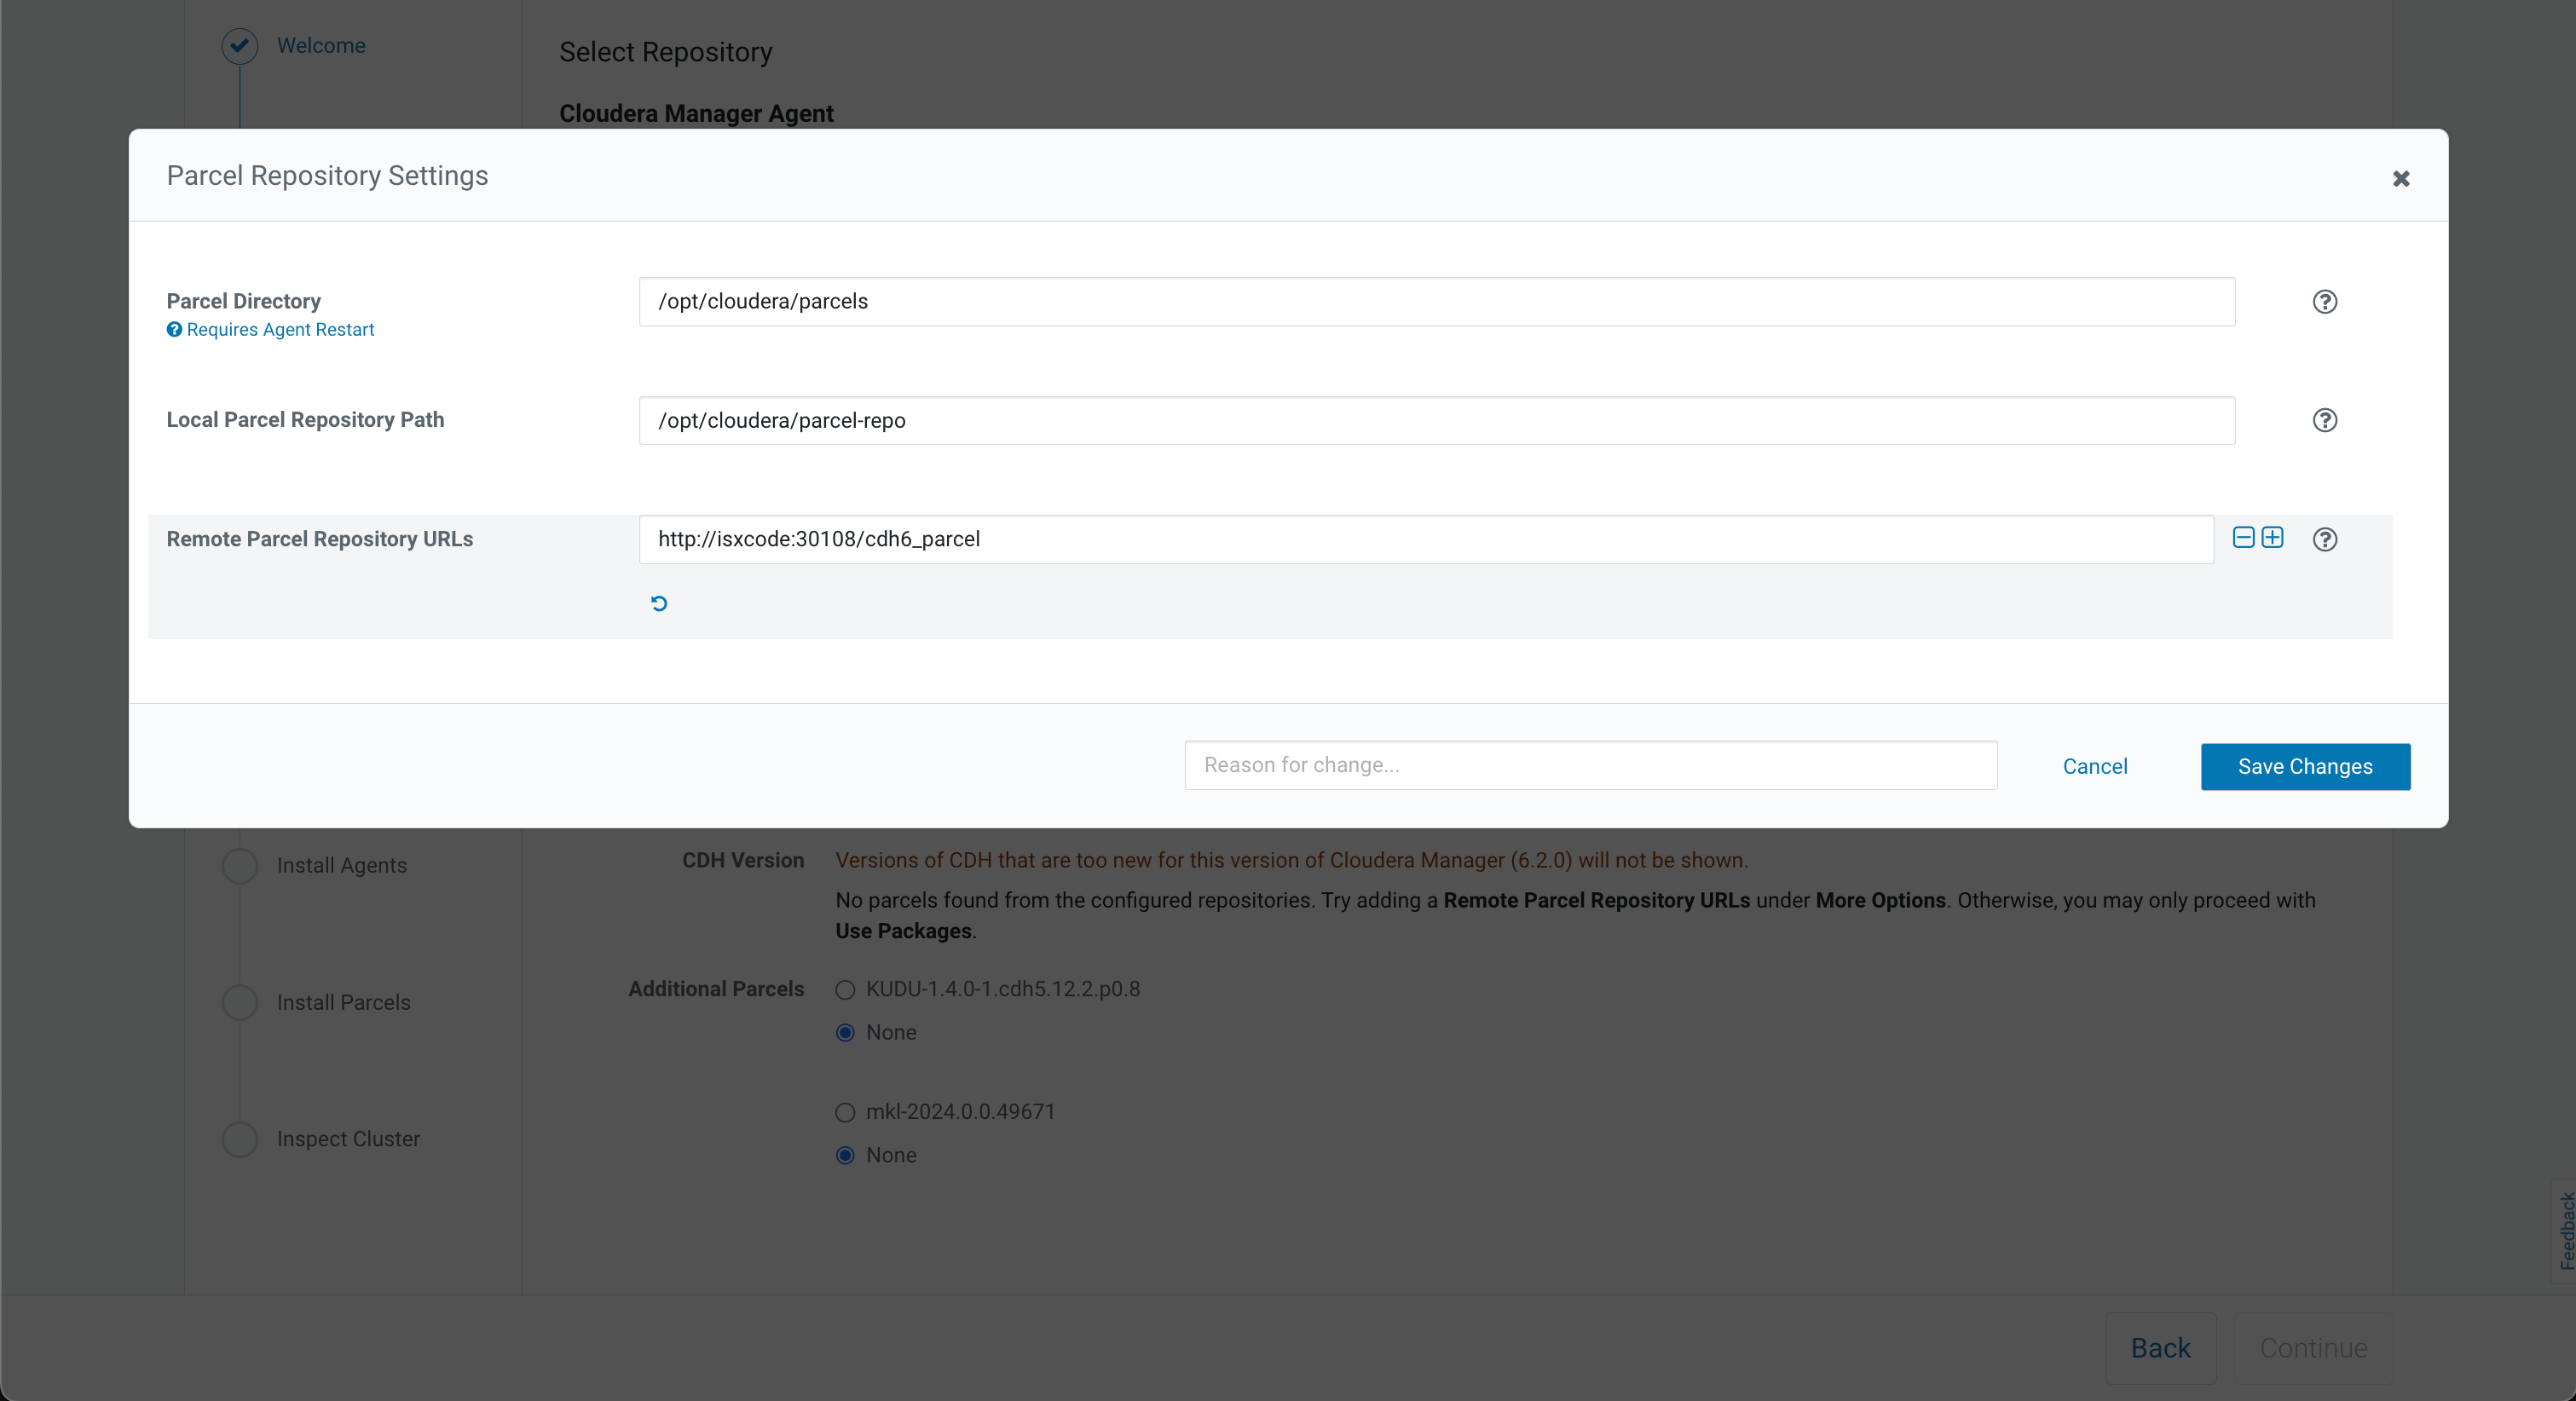
cp /tmp/cdh/cdh6.2.0/cloudera-repos-6.2.0/* /var/www/html/cdh6_parcel/cm6/- parcel镜像地址: http://isxcode:30108/cdh6_parcel (CDH and other software)
- cm6镜像地址: http://isxcode:30108/cdh6_parcel/cm6 (Cloudera Manager Agent)
创建本地镜像仓库
cd /var/www/html/cdh6_parcel/cm6/
createrepo .
如果存在多个服务器,则都要
cd /etc/yum.repos.d
vim cloudera-manager.repo
[cloudera-manager]
name=Cloudera Manager 6.2.0
baseurl=http://isxcode:30108/cdh6_parcel/cm6
gpgcheck=0
enabled=1离线模式需要删除其他的库,否则cdh无法拉取软件库
cd /etc
mkdir yum.repos.d_bak
mv yum.repos.d/* yum.repos.d_bak/
yum-config-manager --enable cloudera-manager
yum clean all && yum makecache
启动scm
# systemctl edit cloudera-scm-server
# systemctl cat cloudera-scm-server
systemctl reset-failed cloudera-scm-server
systemctl enable cloudera-scm-server
systemctl start cloudera-scm-server
systemctl status cloudera-scm-server
# cd /opt/cloudera/cm/bin
# sudo -u cloudera-scm sh -c "source /etc/profile && ./cm-server"
查看scm日志
tail -f /var/log/cloudera-scm-server/cloudera-scm-server.log修改scm访问端口
INSERT INTO CONFIGS (CONFIG_ID, ATTR, VALUE, CONFIG_CONTAINER_ID) VALUES (4, ‘http_port’, ‘${customPort}’, 2);
INSERT INTO cdh_scm.CONFIGS (CONFIG_ID, ATTR, VALUE, CONFIG_CONTAINER_ID) VALUES (4, 'http_port', '30107', 2);sudo systemctl stop cloudera-scm-server
sudo systemctl stop cloudera-scm-agent
sudo systemctl restart cloudera-scm-agent
systemctl restart cloudera-scm-server测试
默认端口号: 7180
- http://47.99.126.247:30107
- username: admin
- password: admin
安装集群
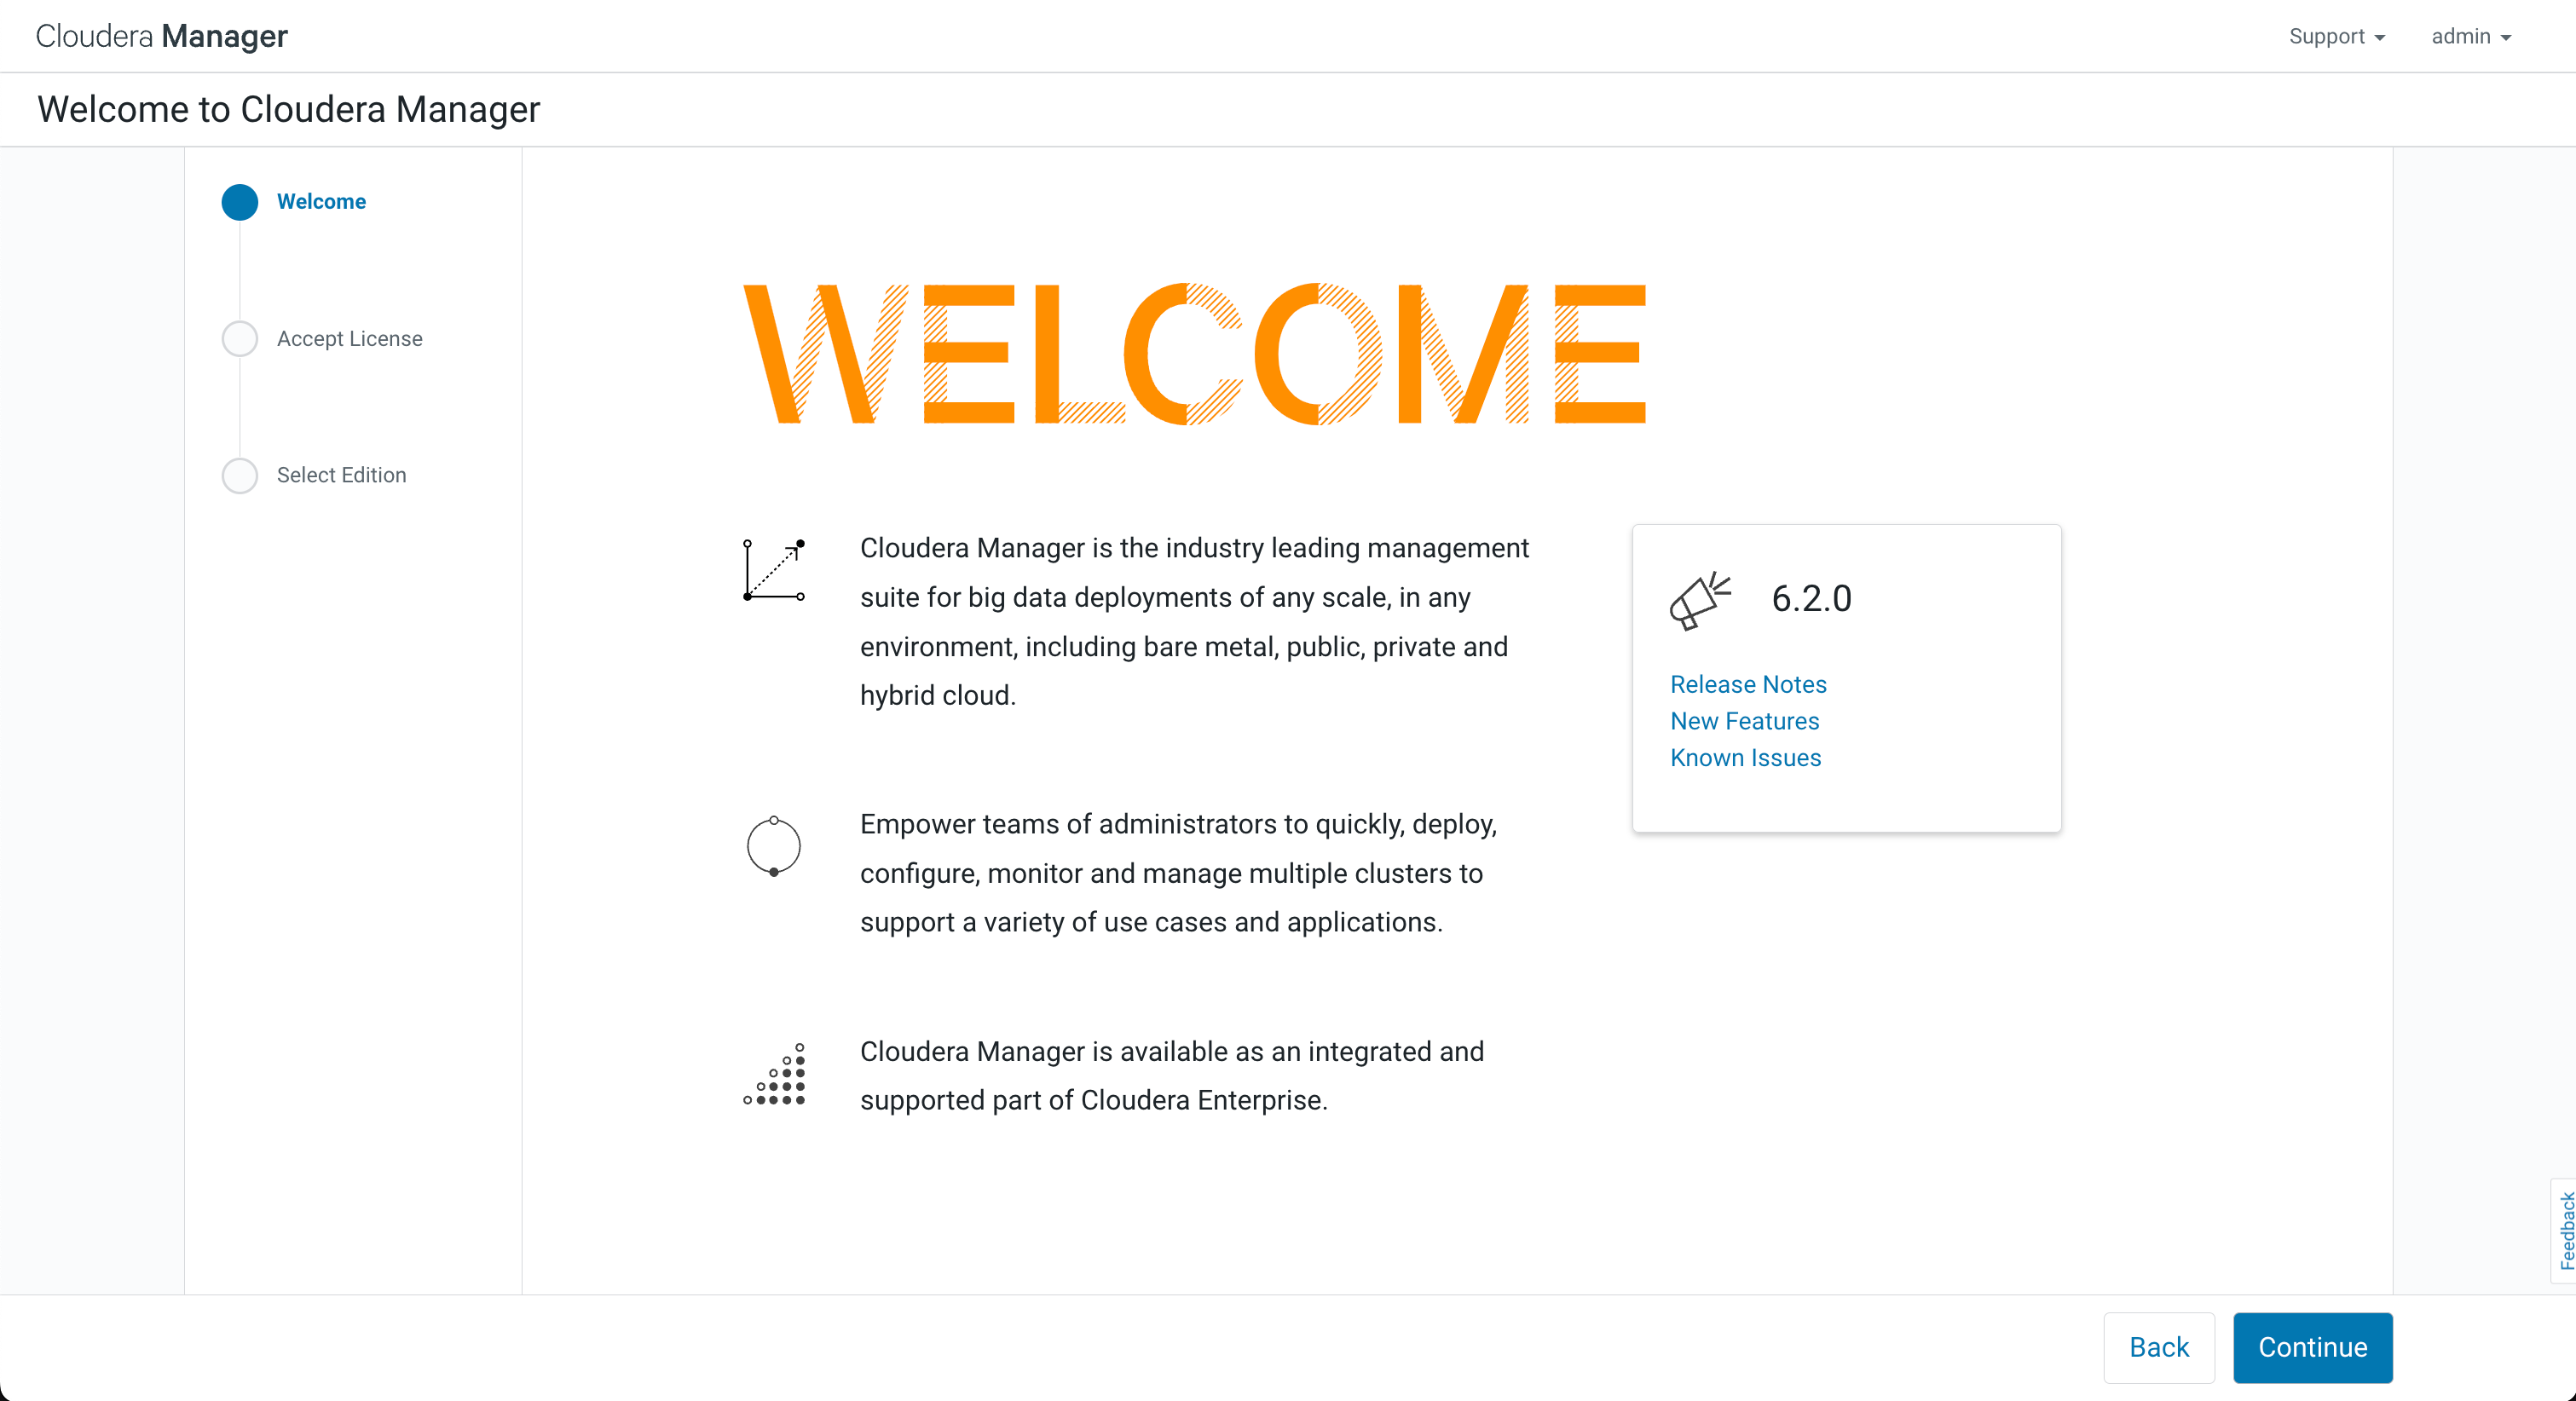
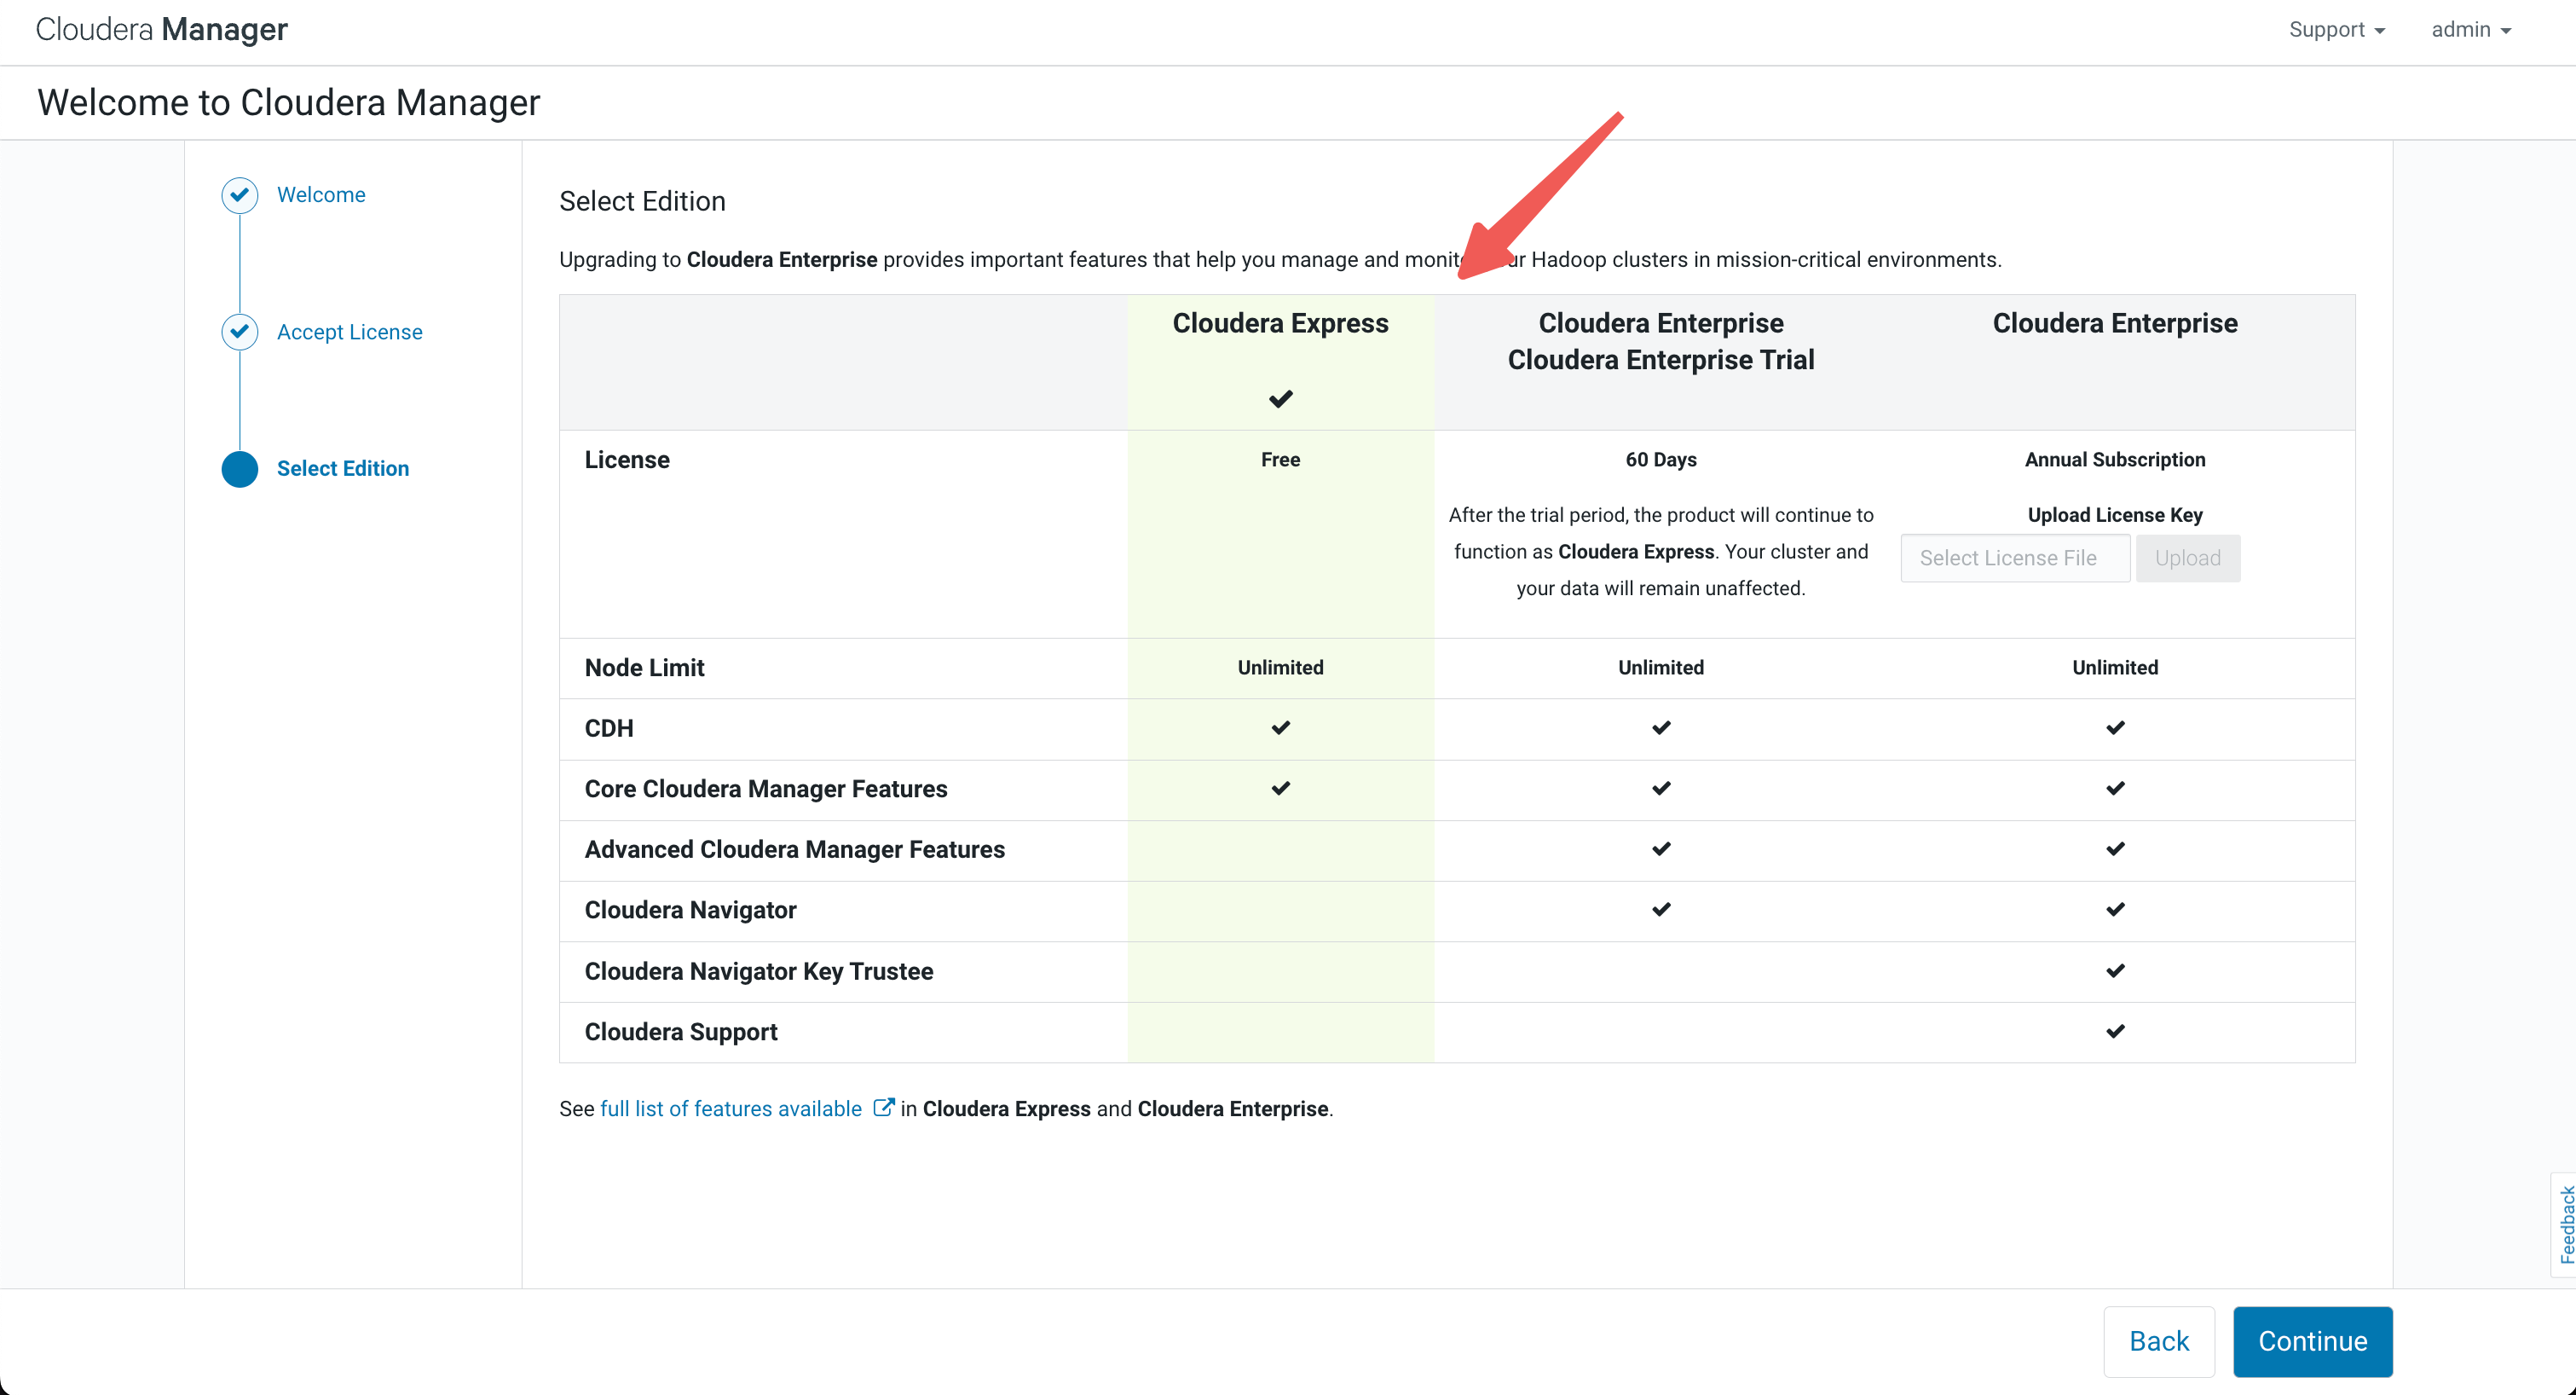
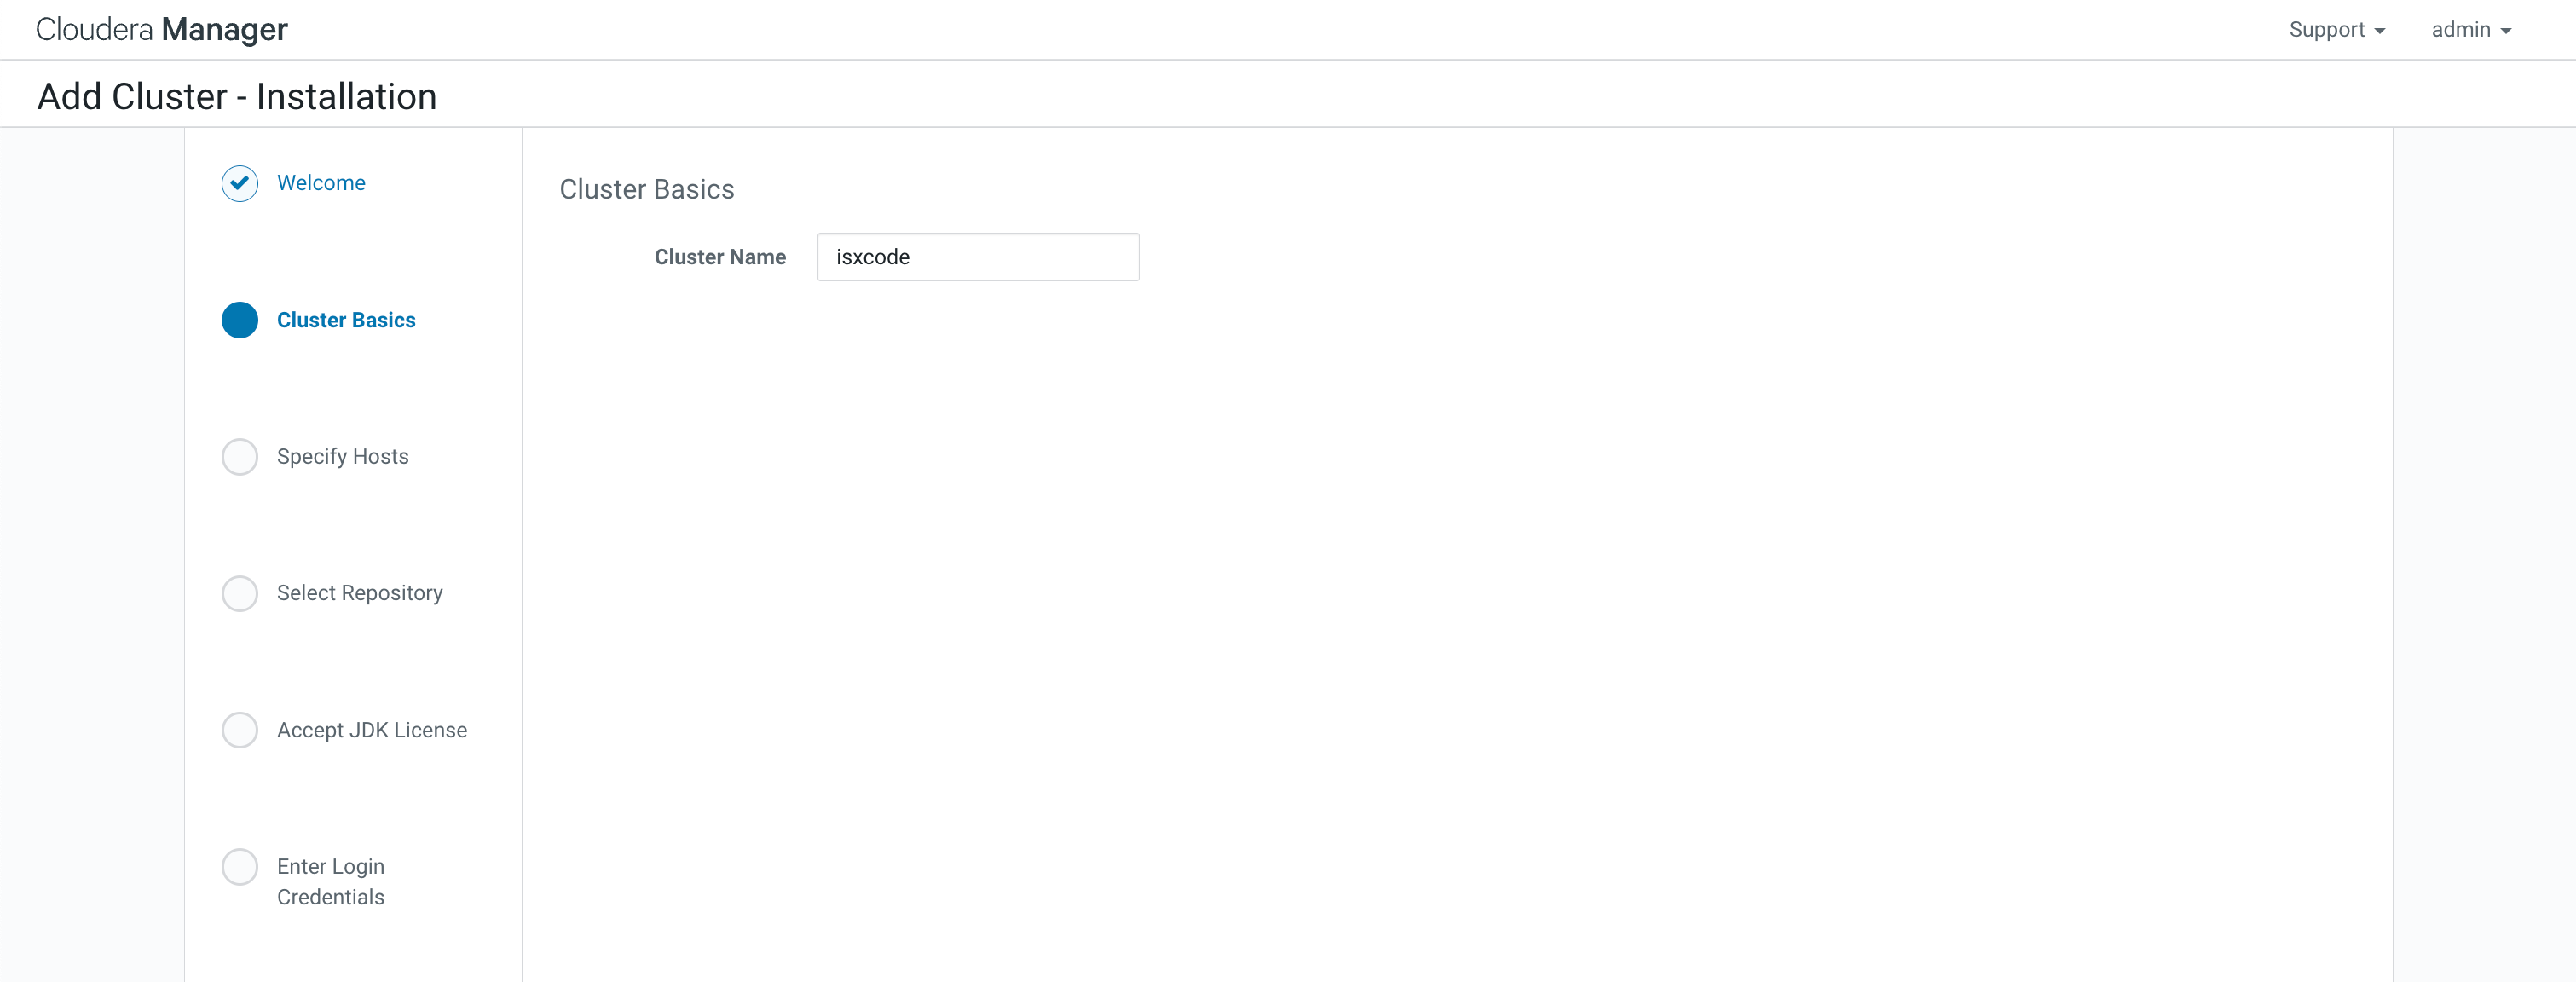
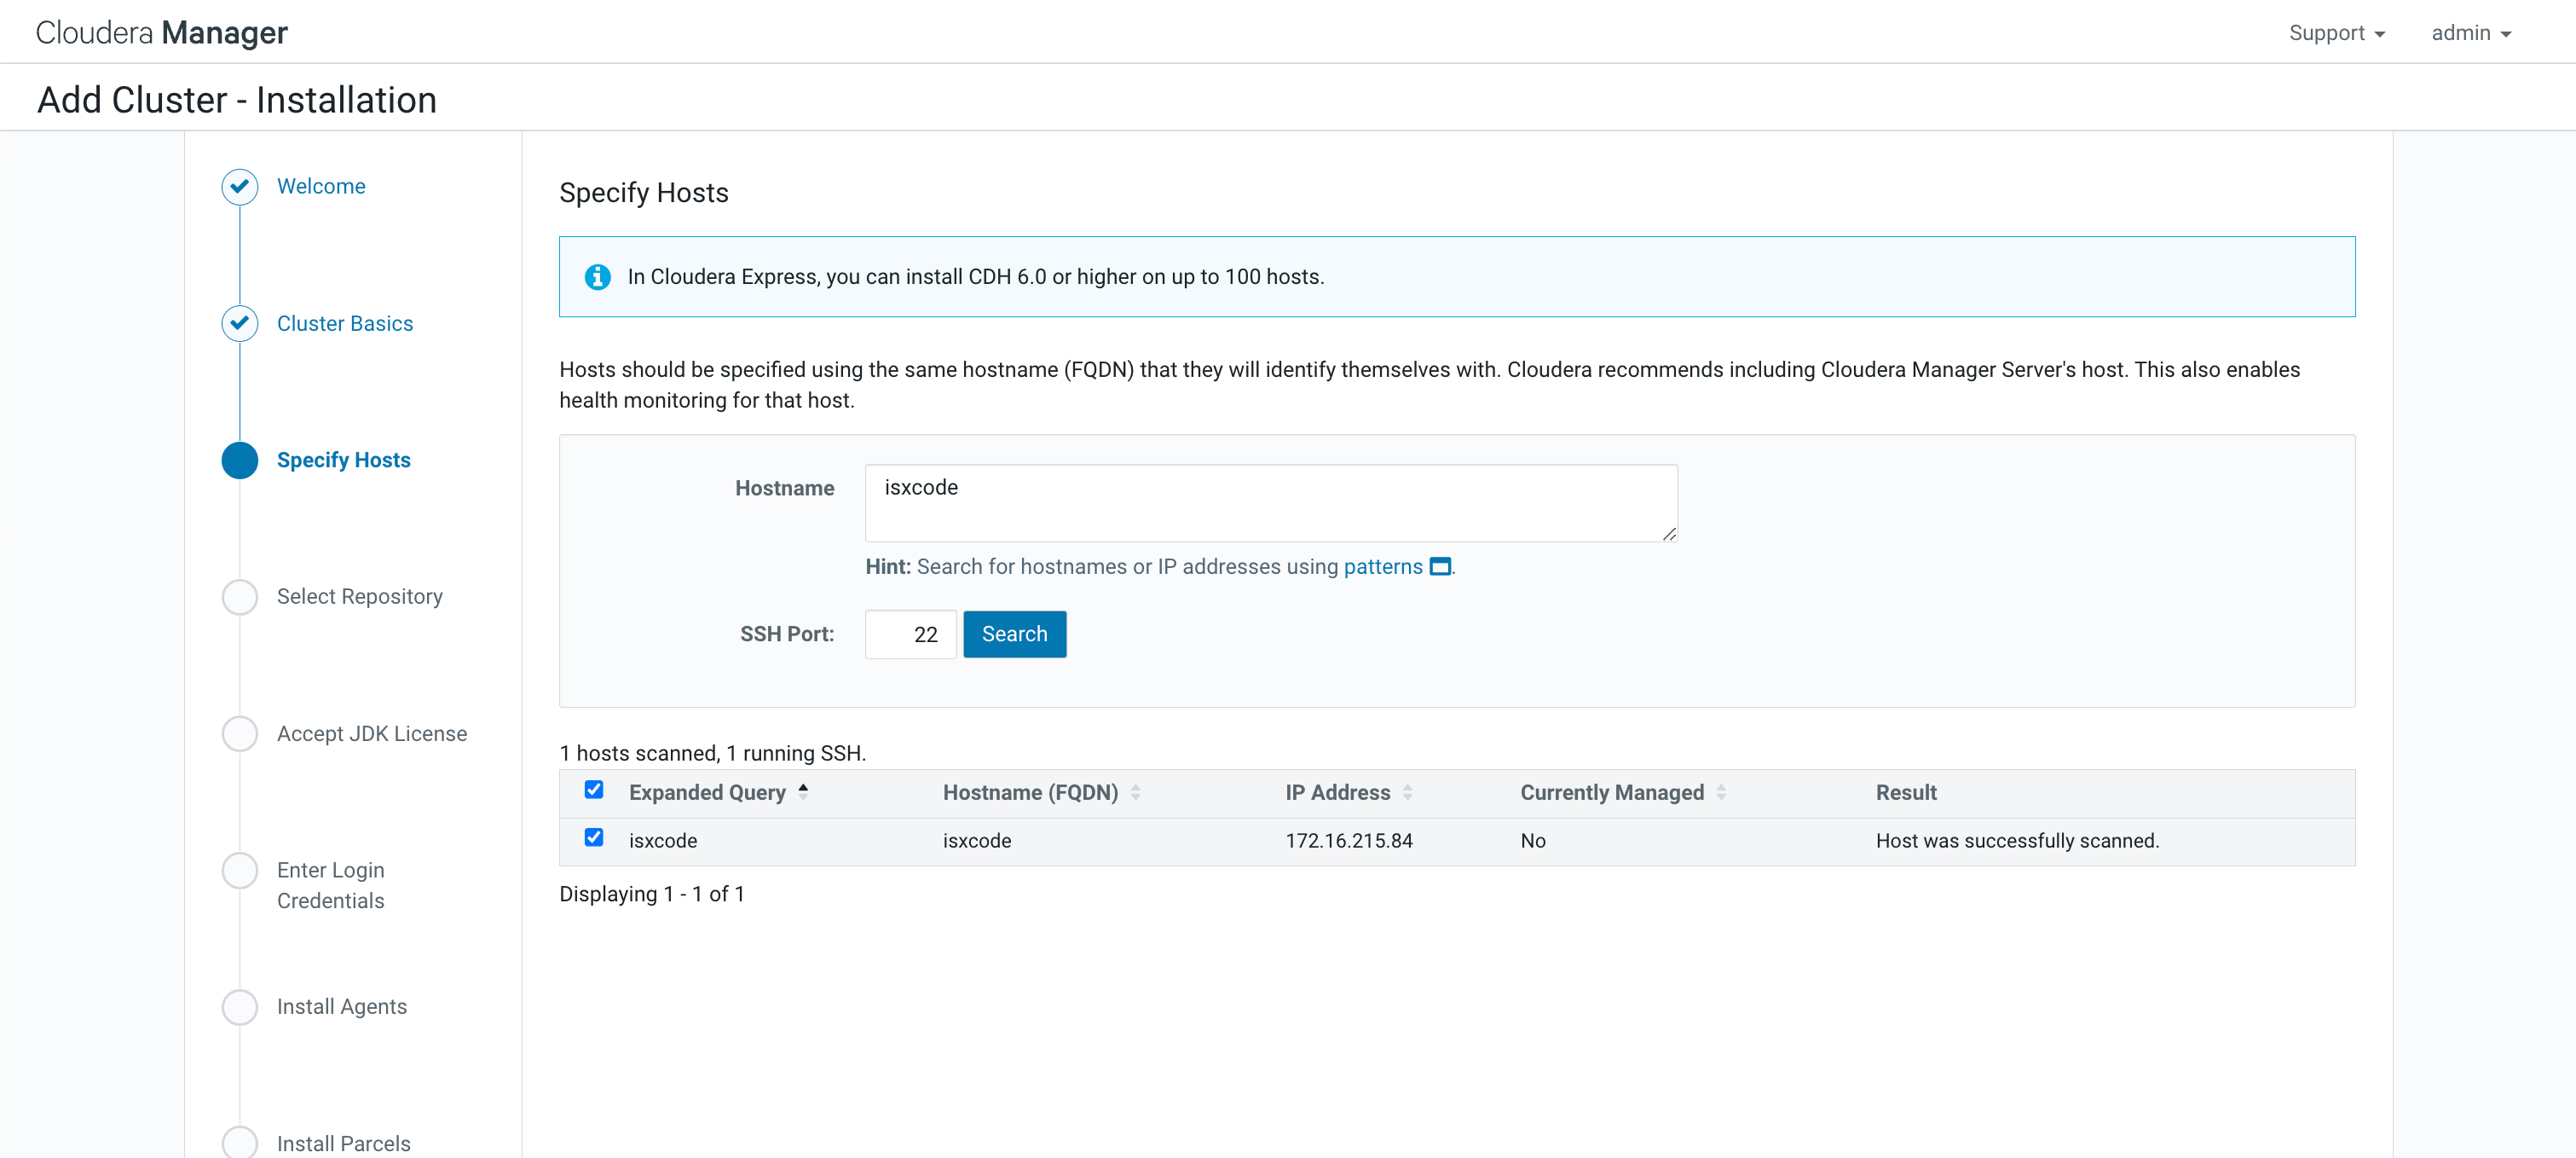
Cloudera Manager Agent: http://isxcode:30108/cdh6_parcel/cm6
CDH and other software: http://isxcode:30108/cdh6_parcel
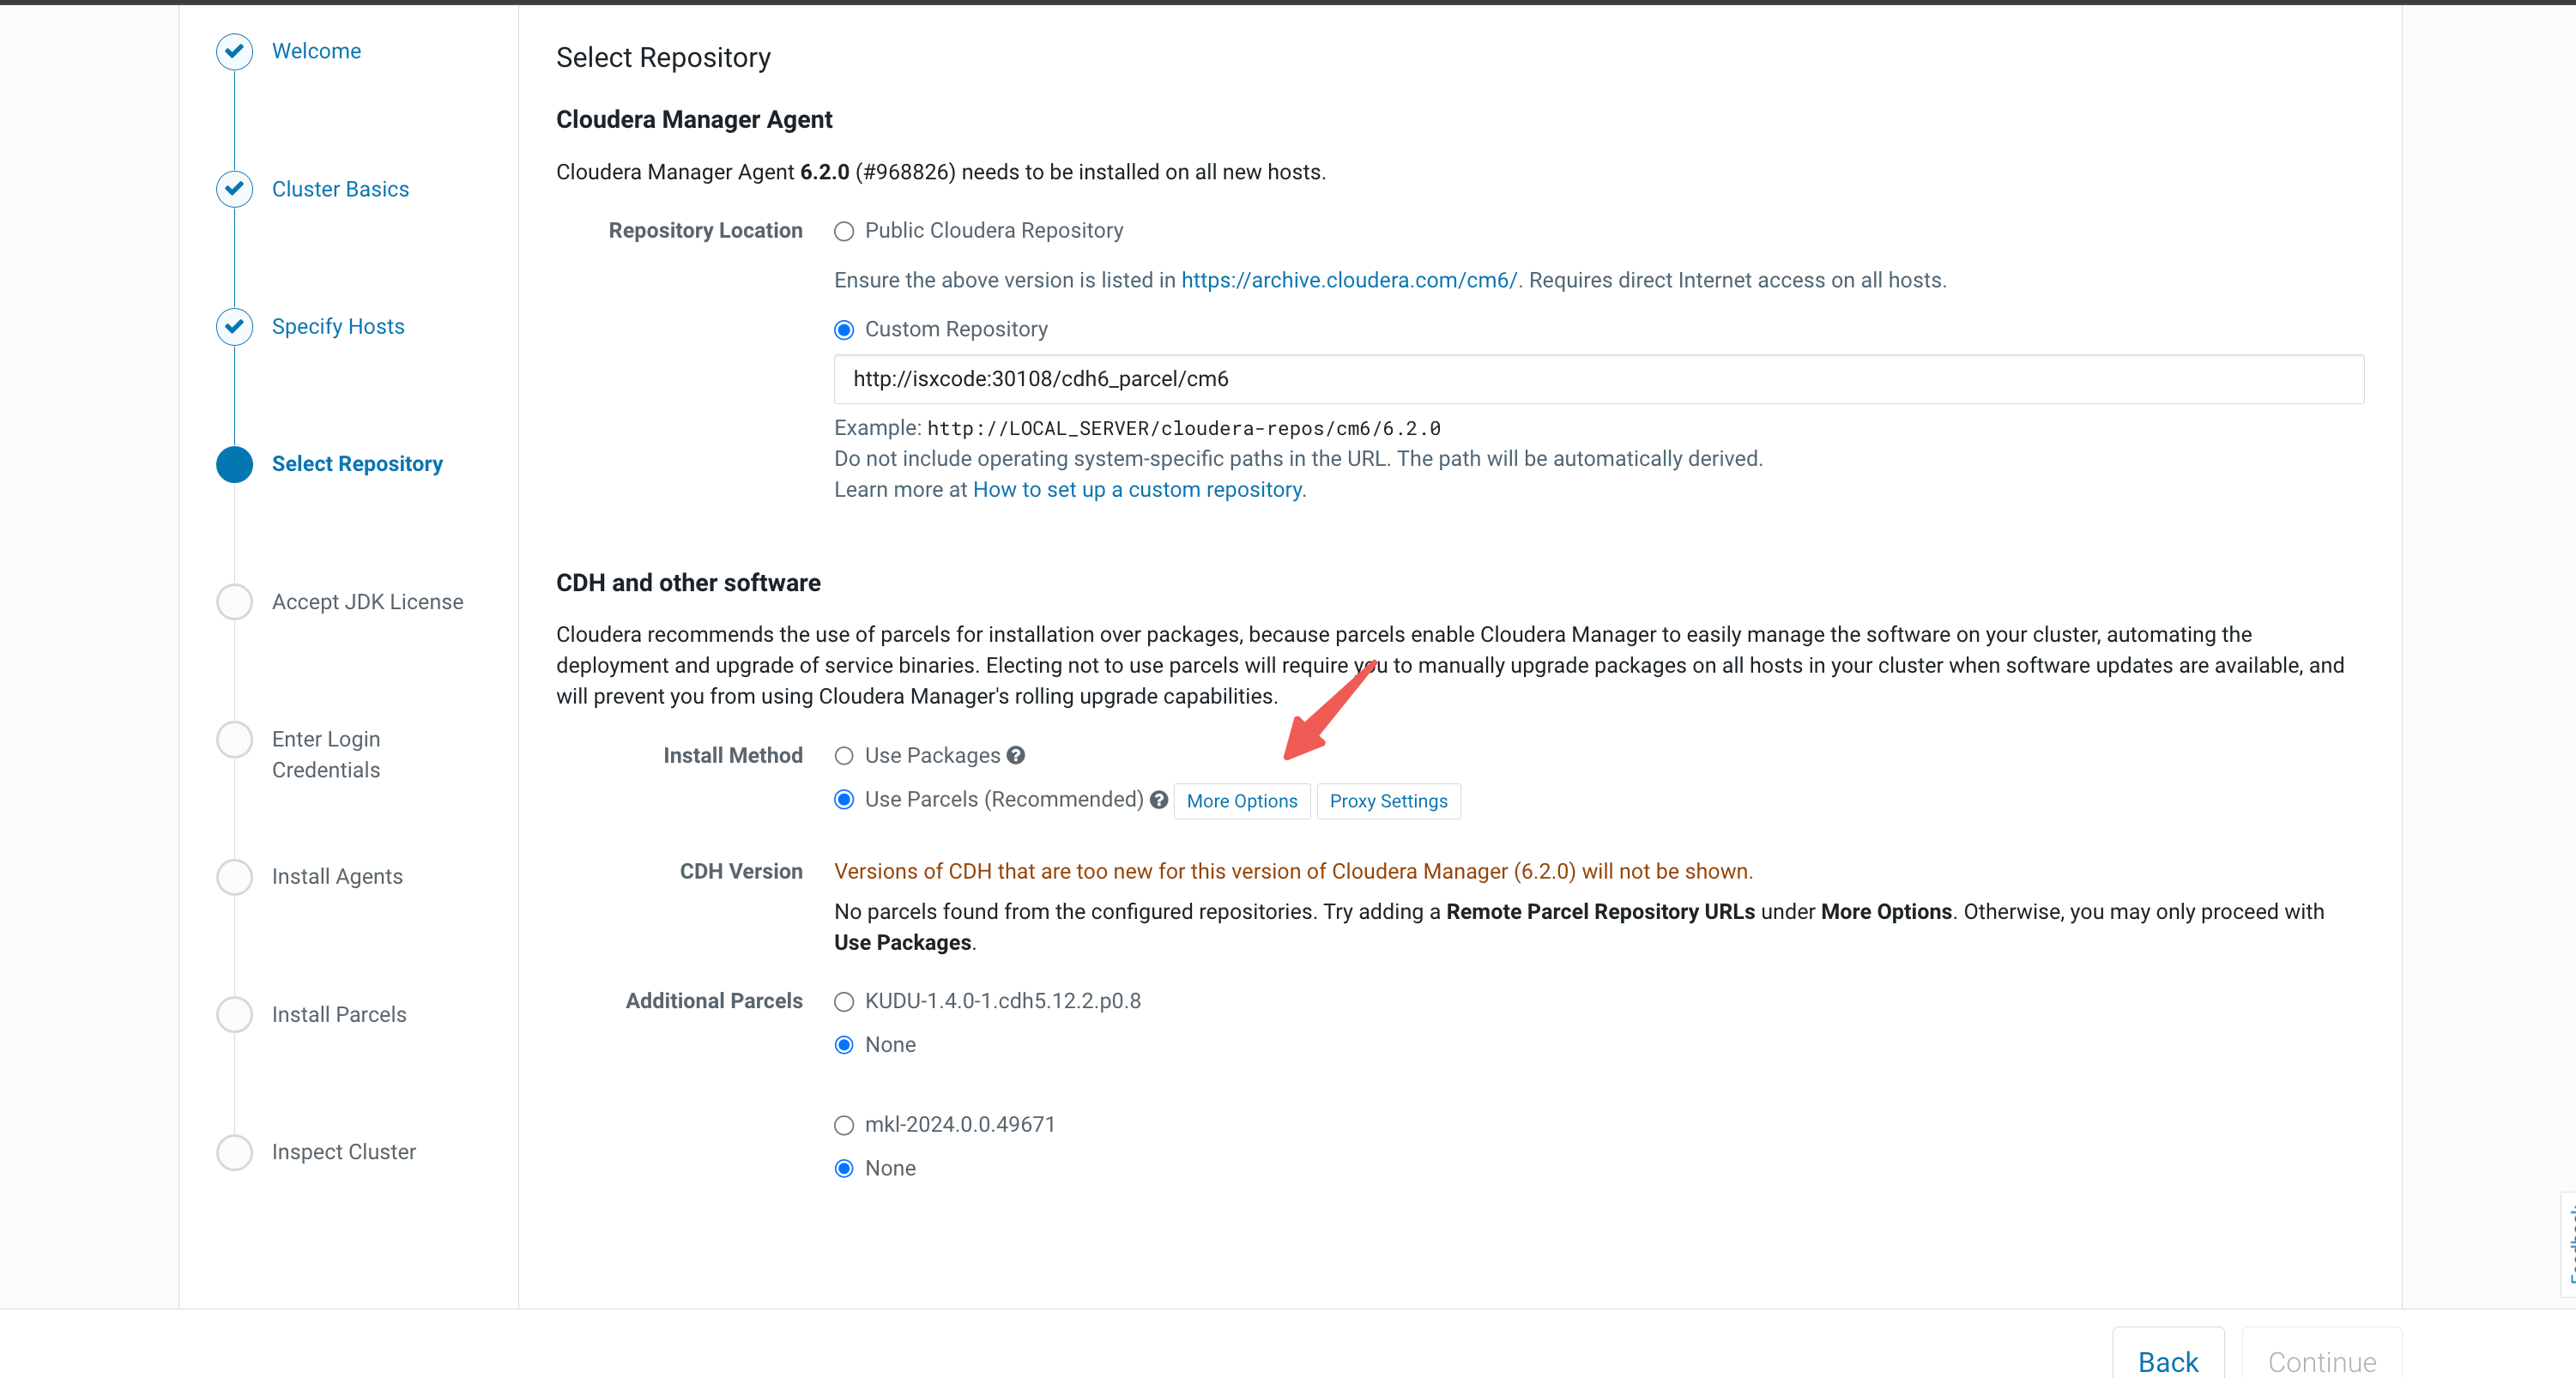
一定要修改路径,不要使用映射的路径,给个新的路径
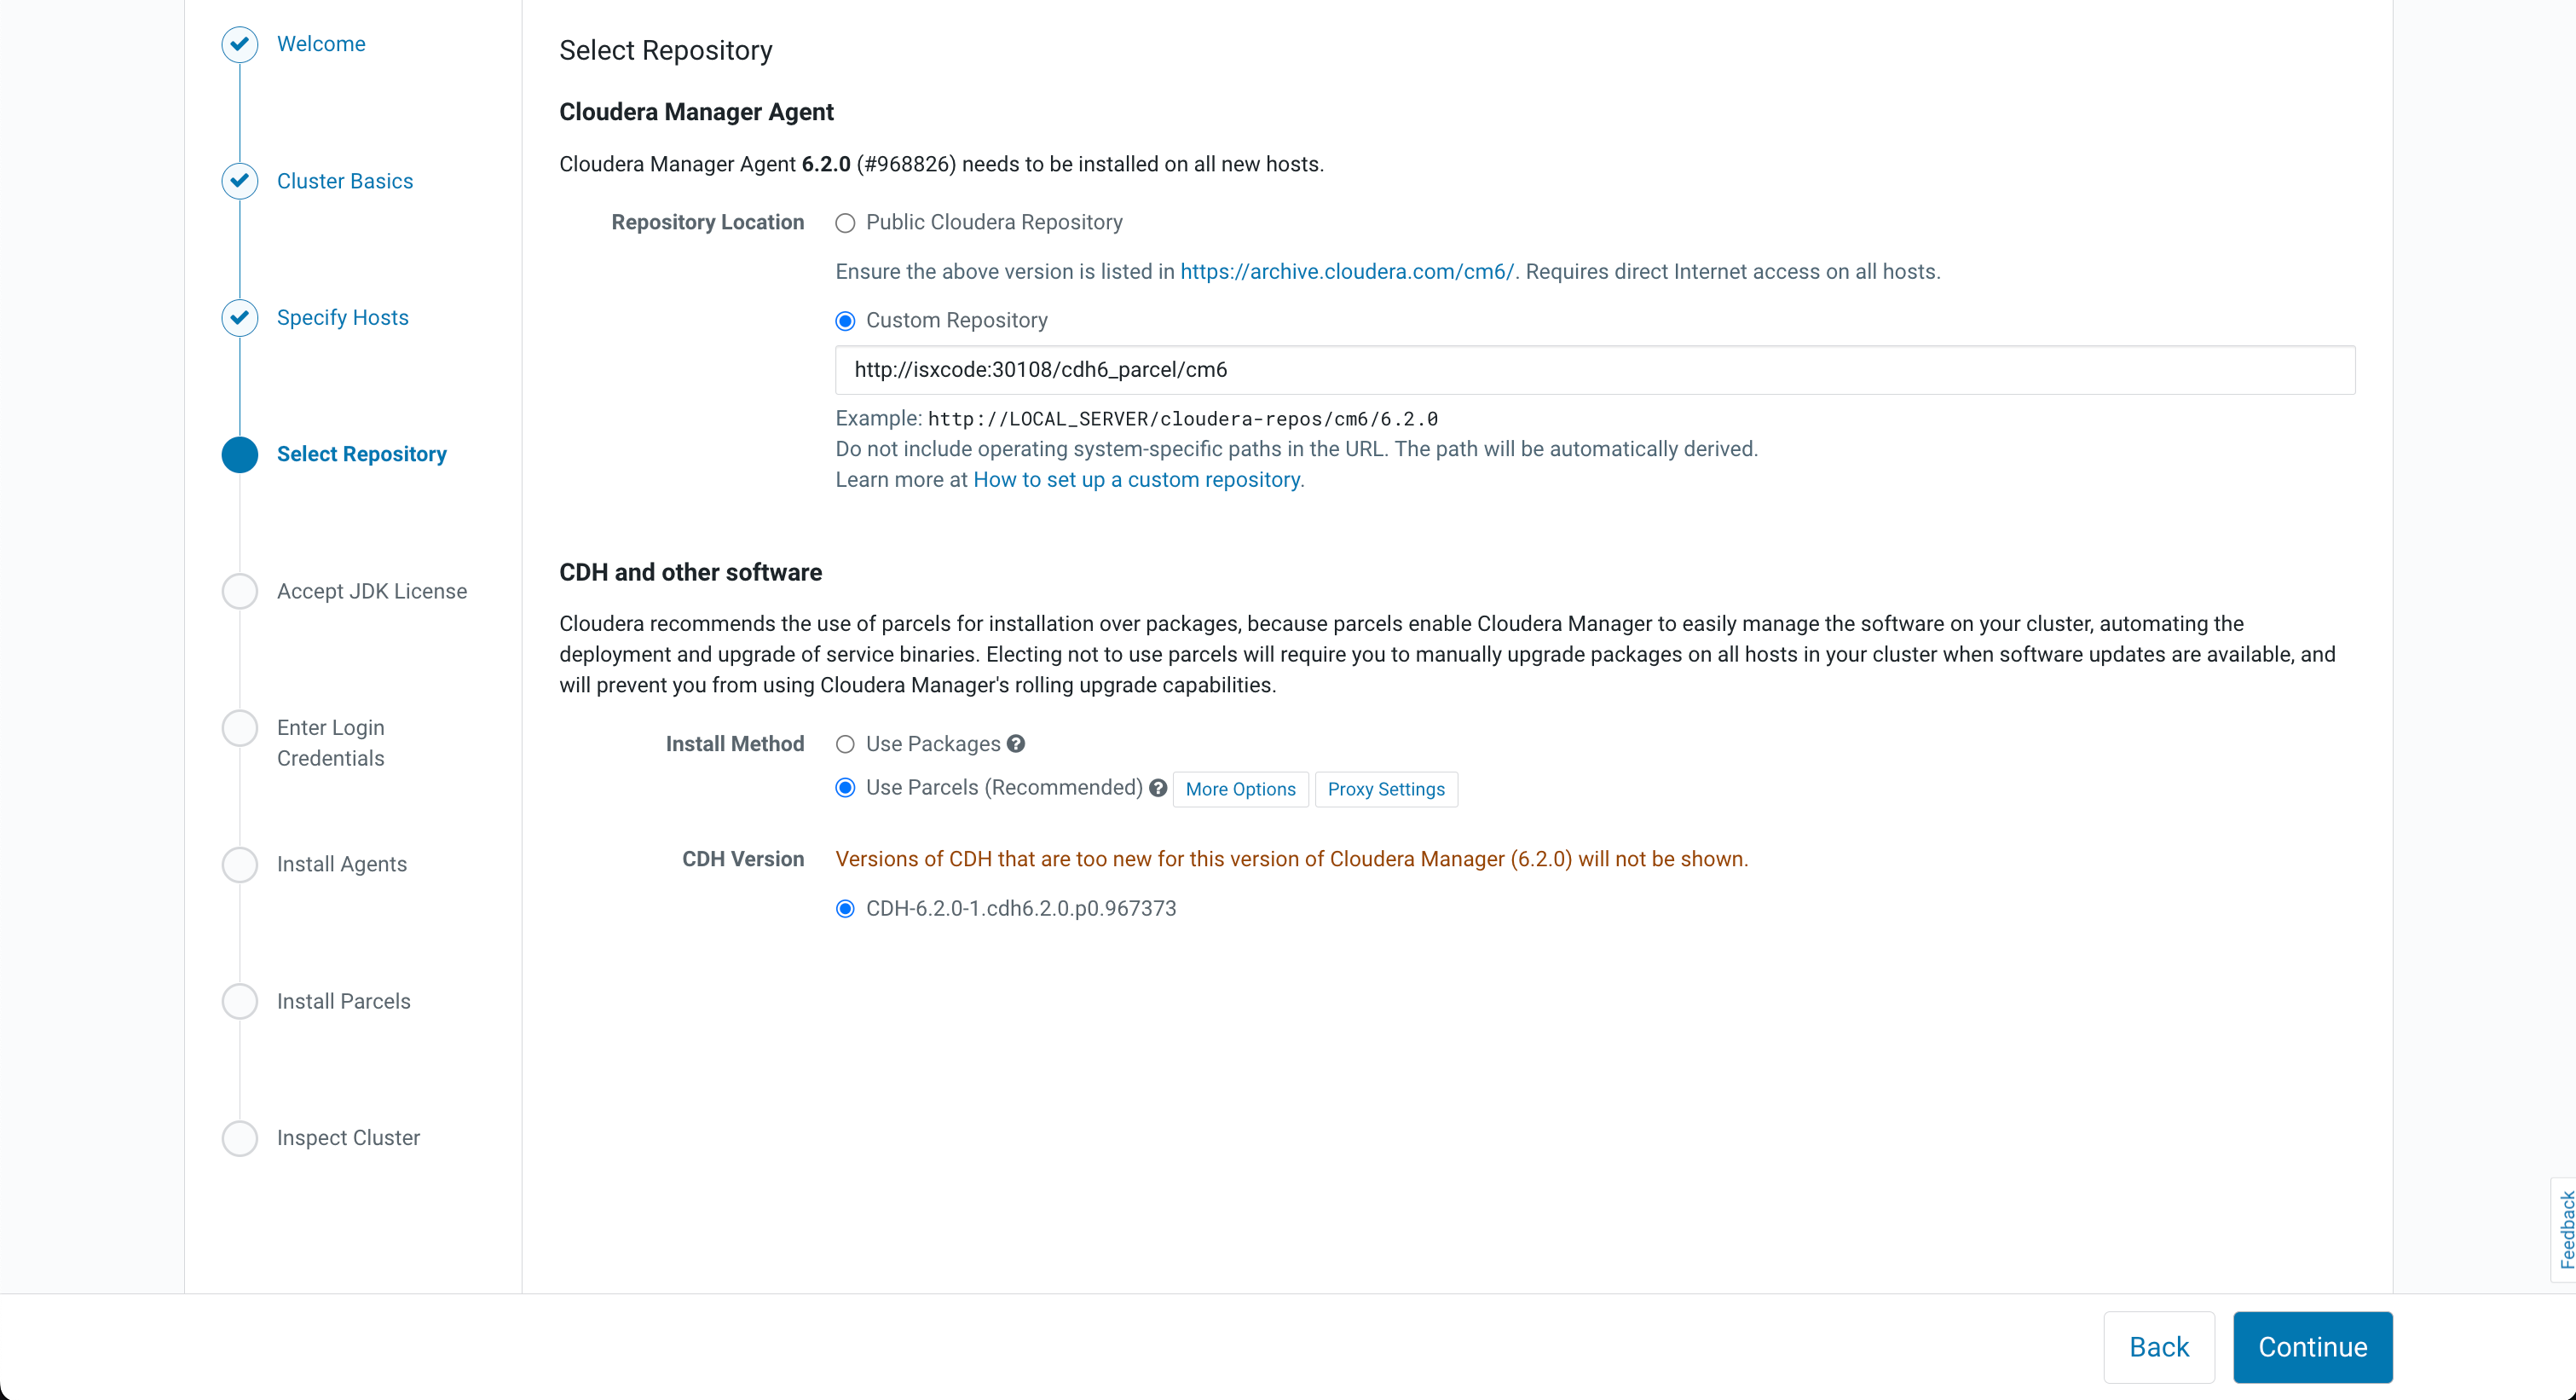
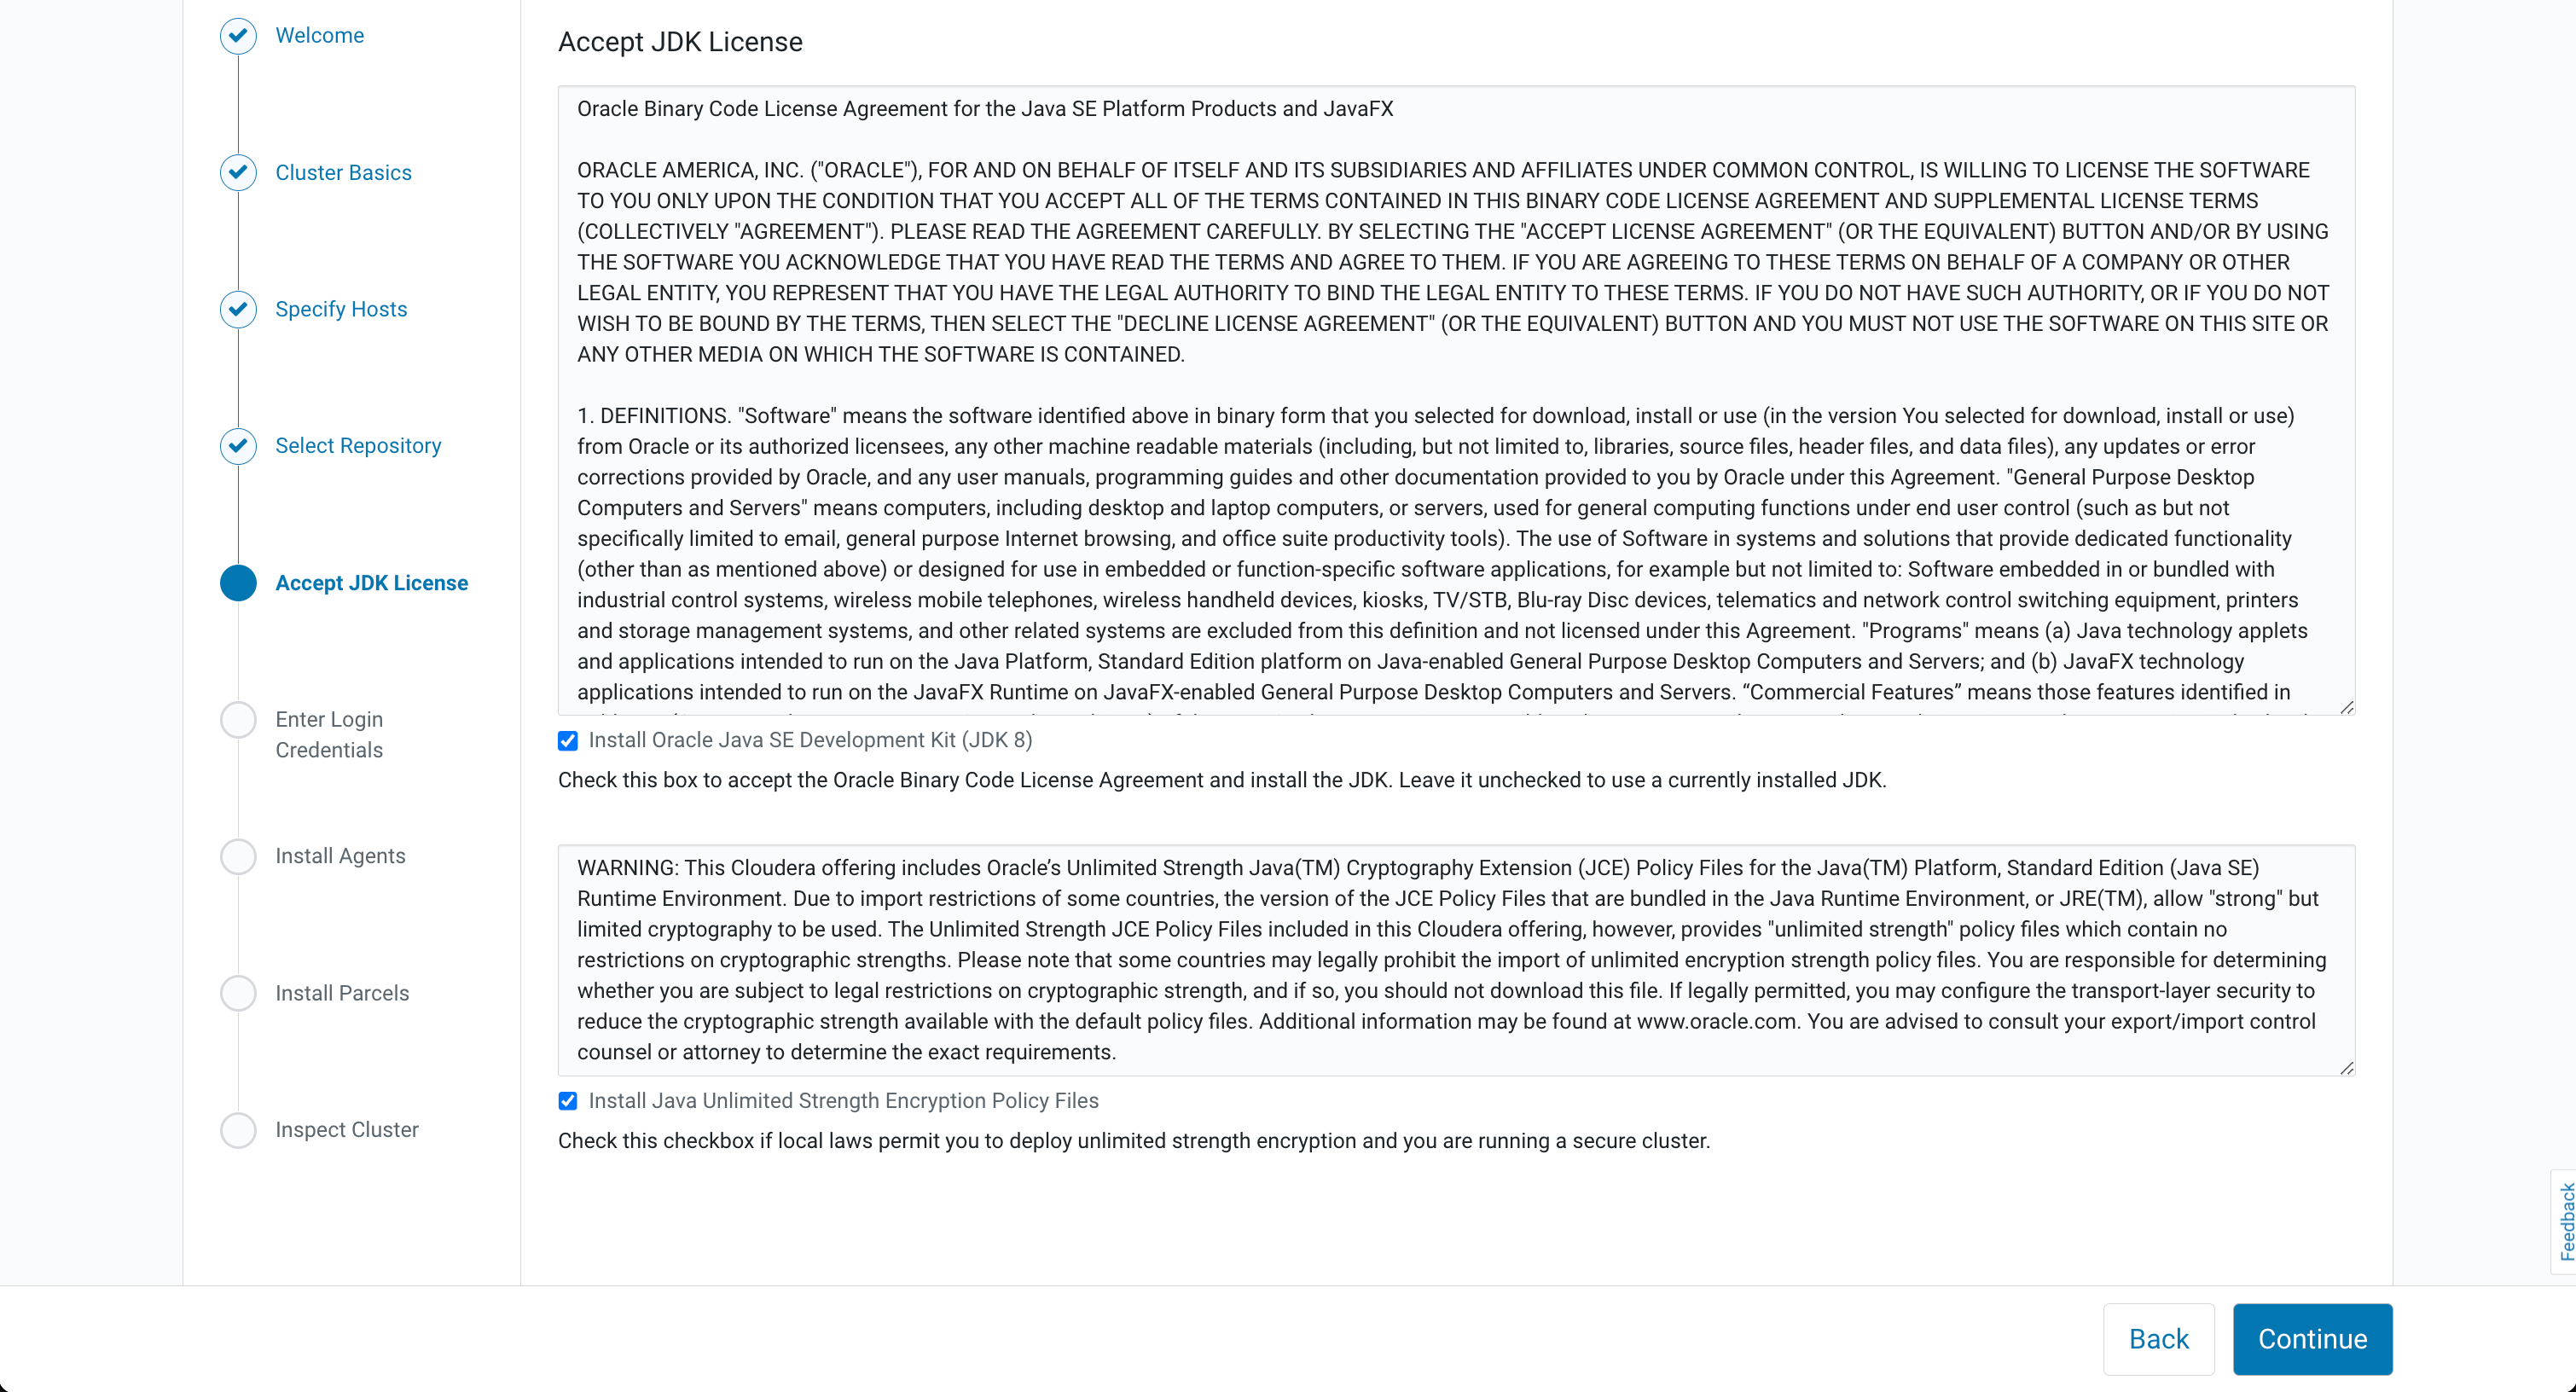
使用之前创建的cdh账号
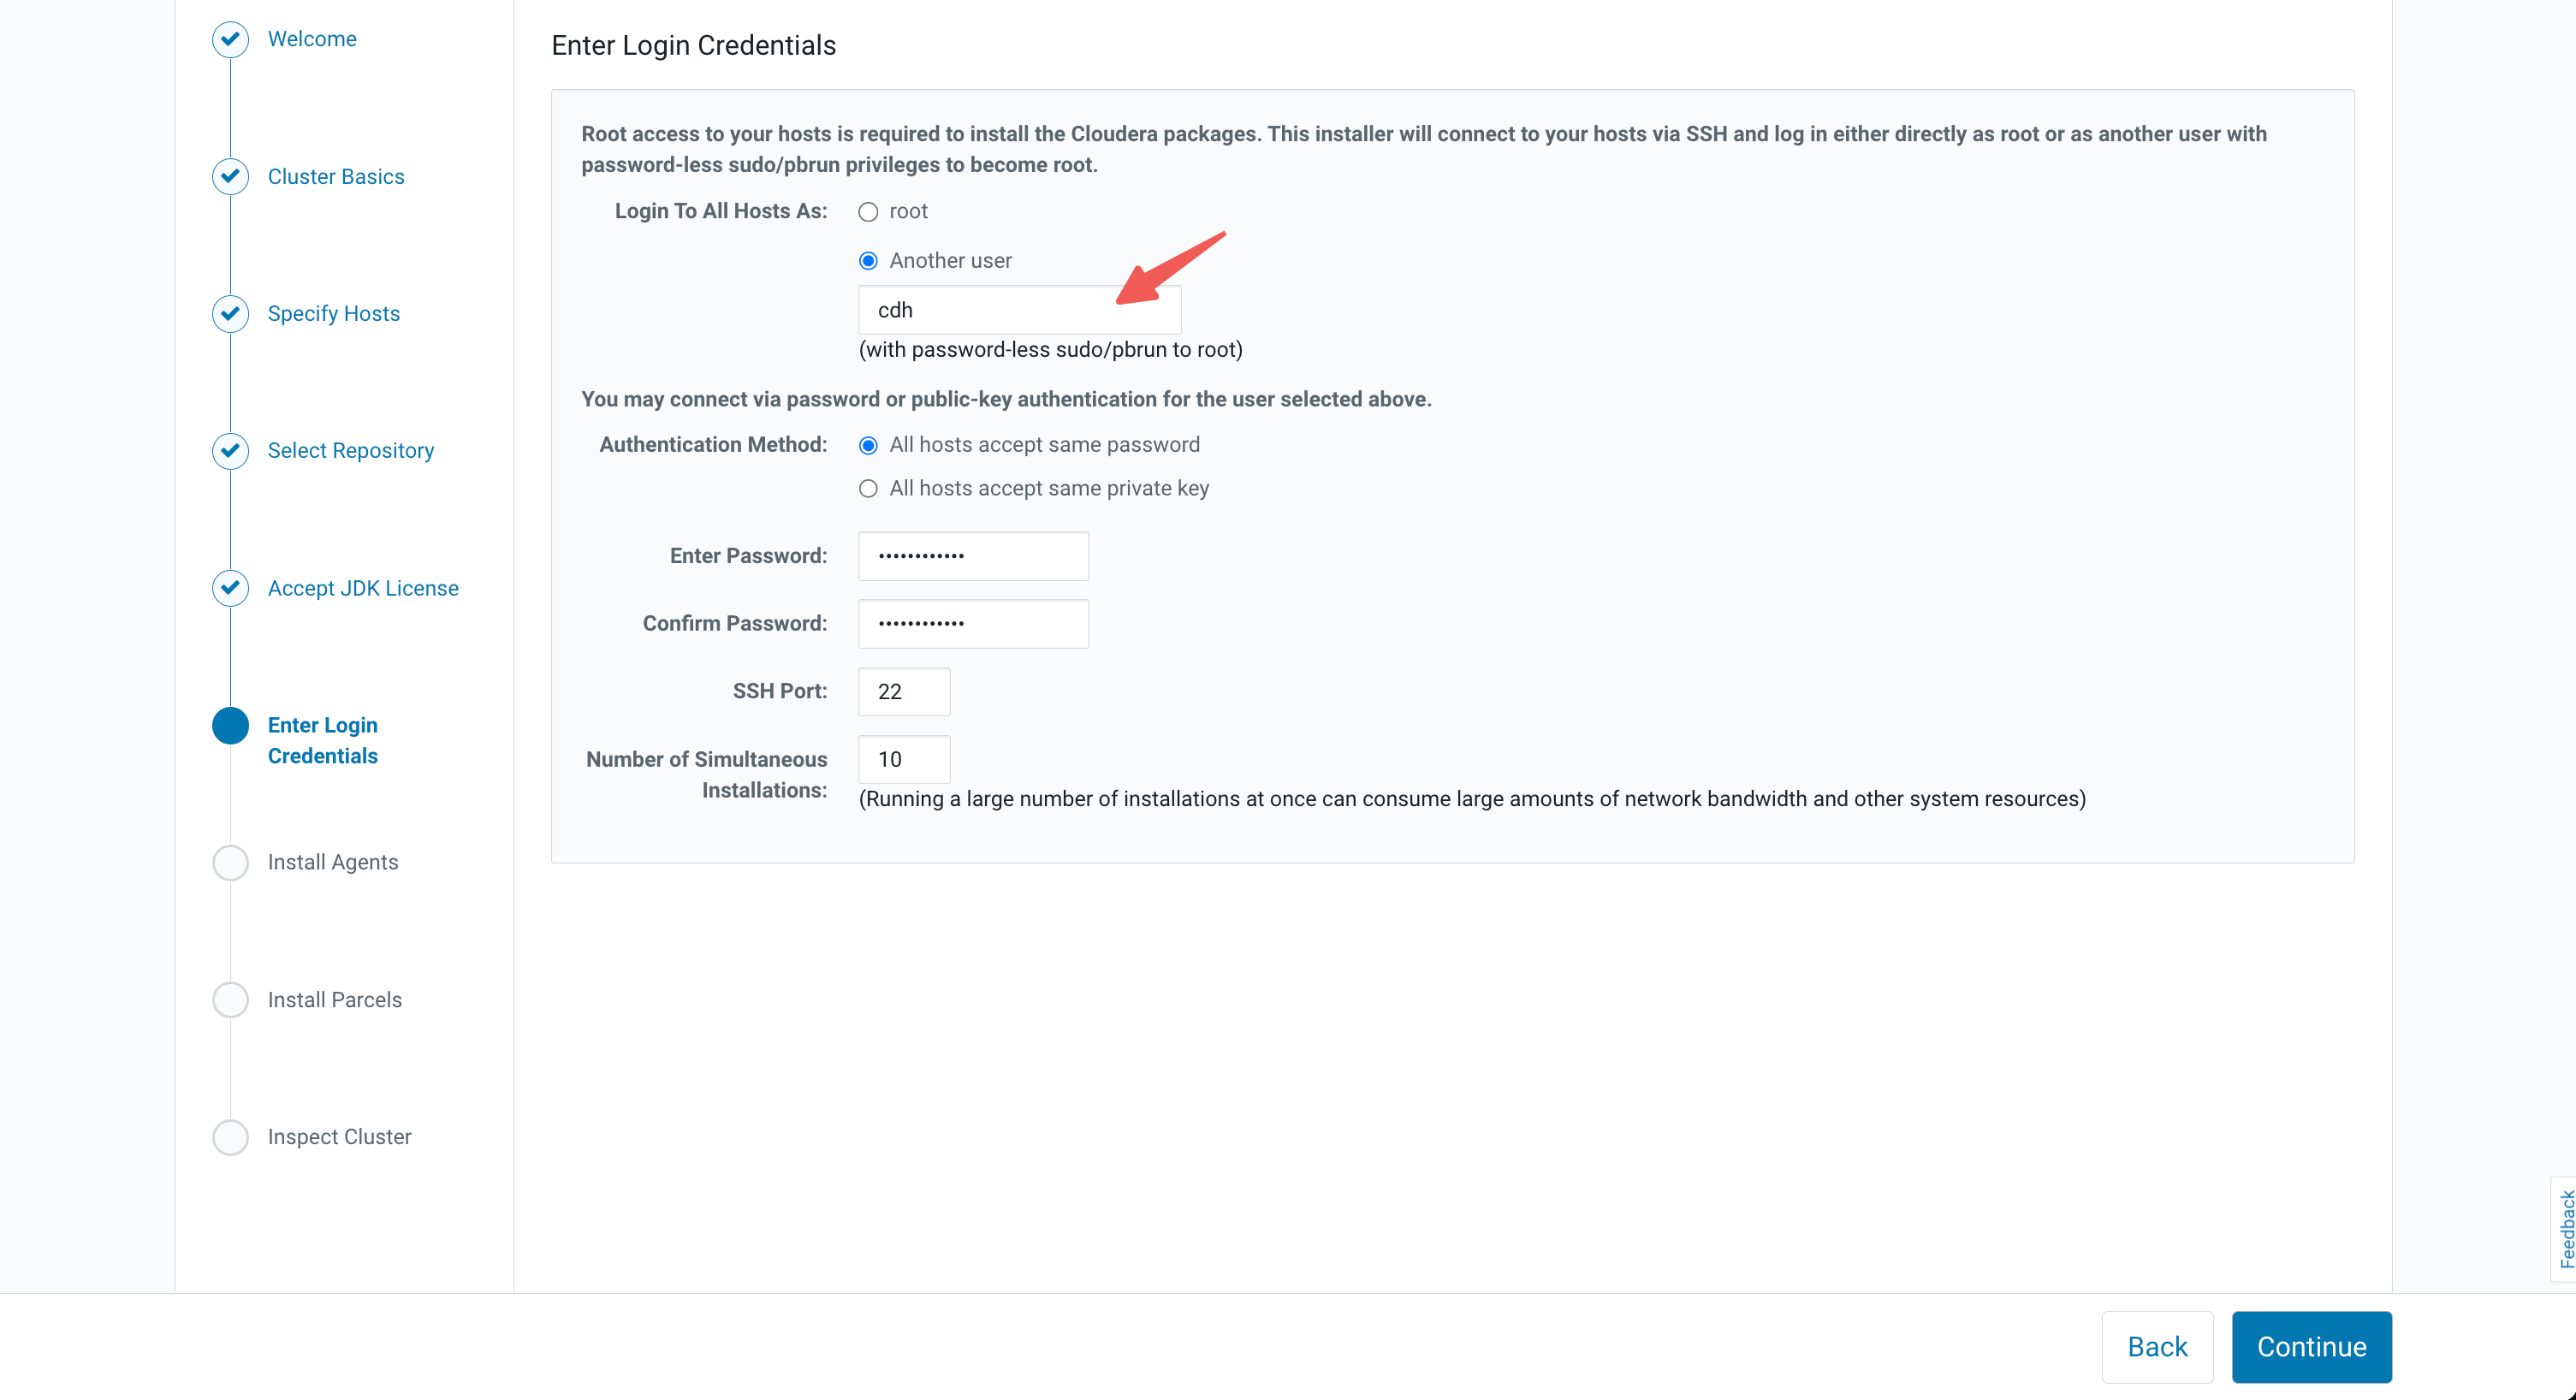
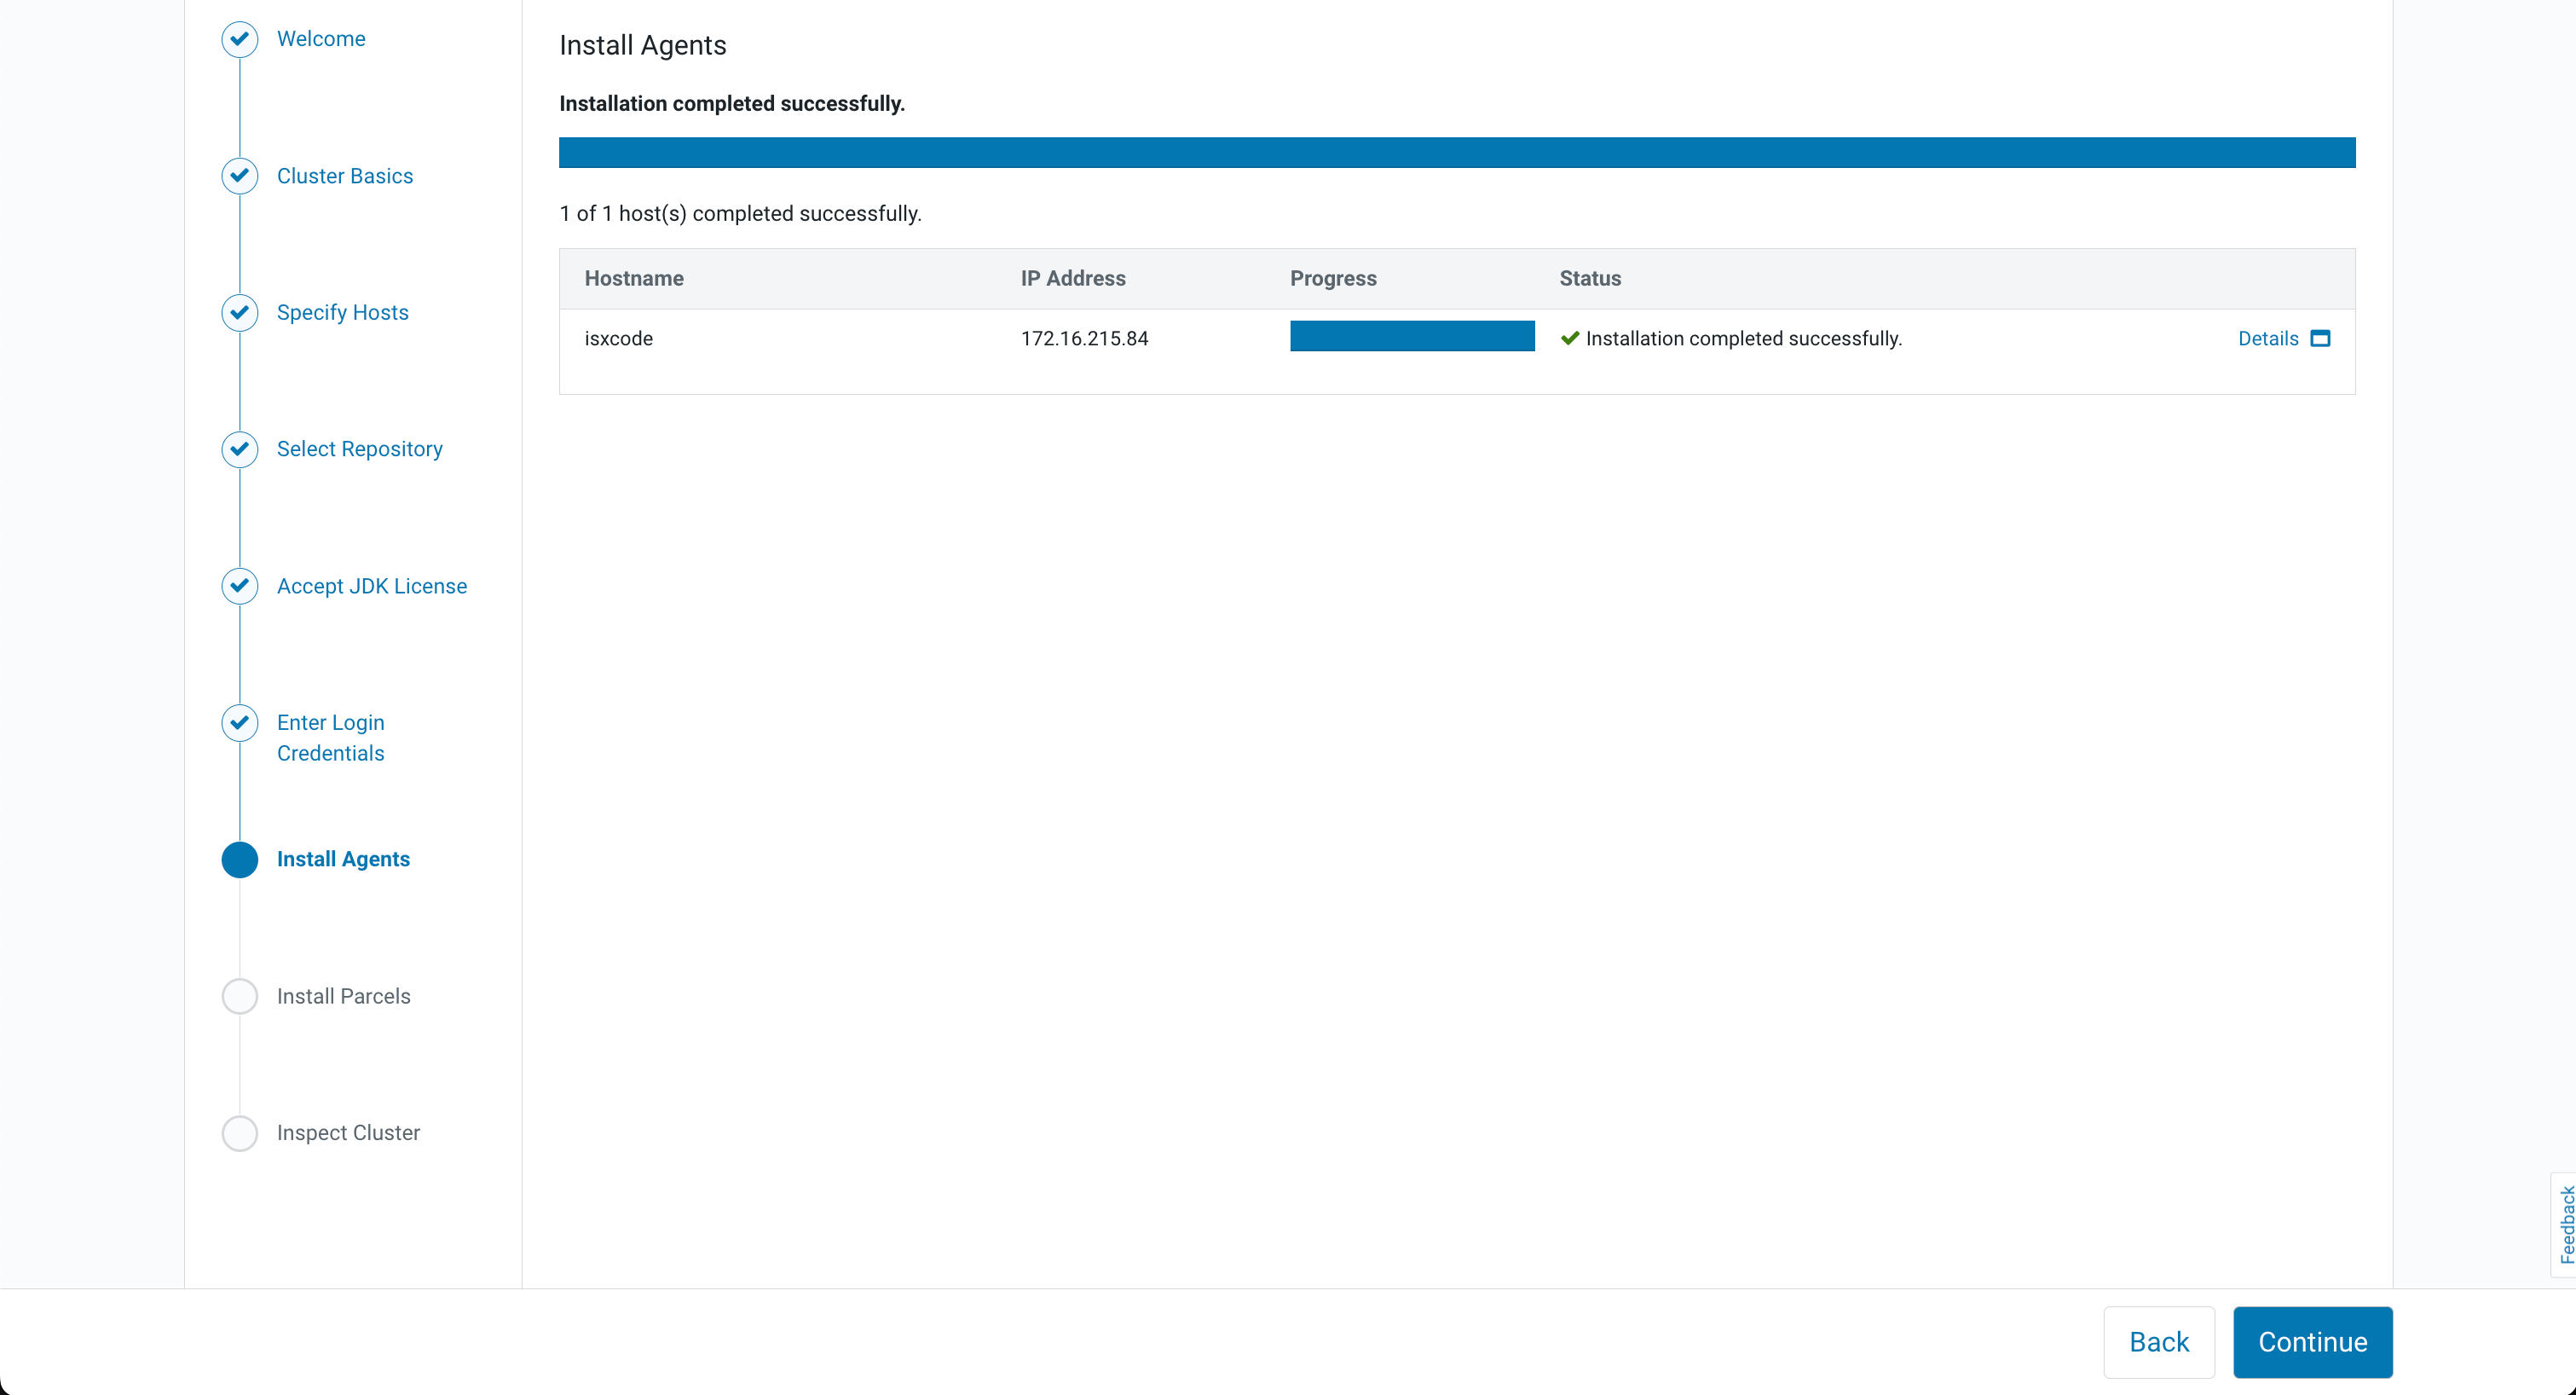
有可能存在缺少依赖,去/cdh-rpm包中寻找
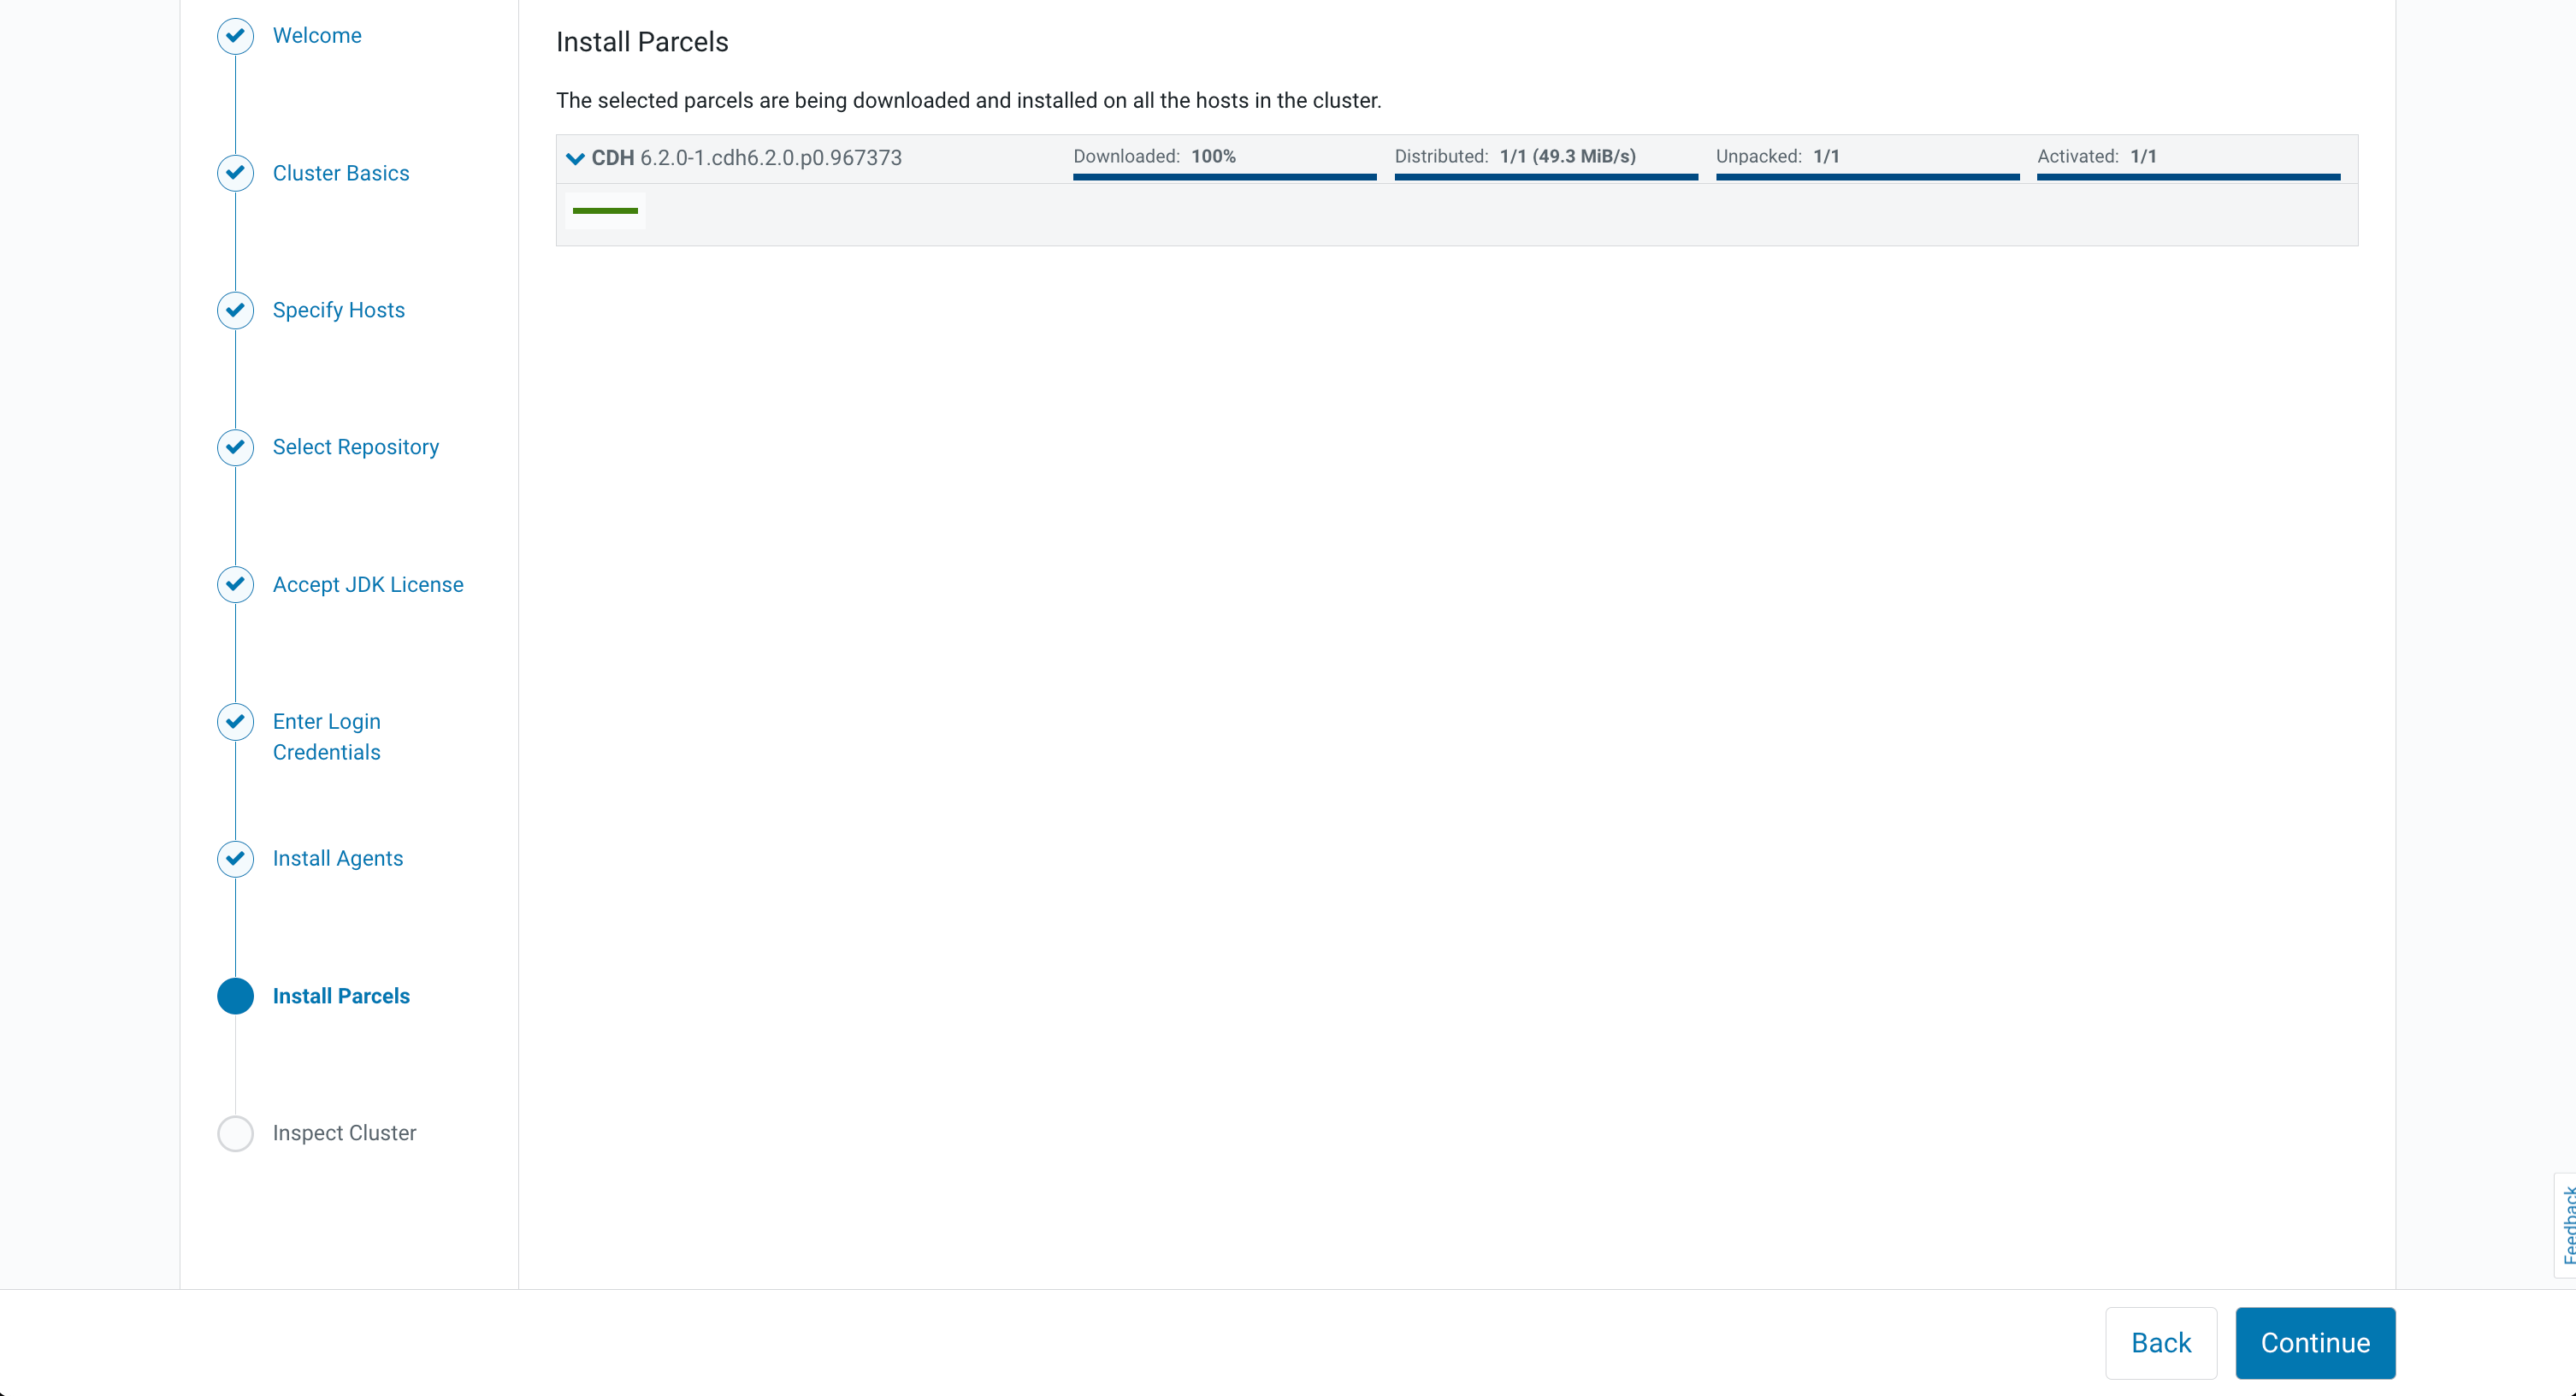
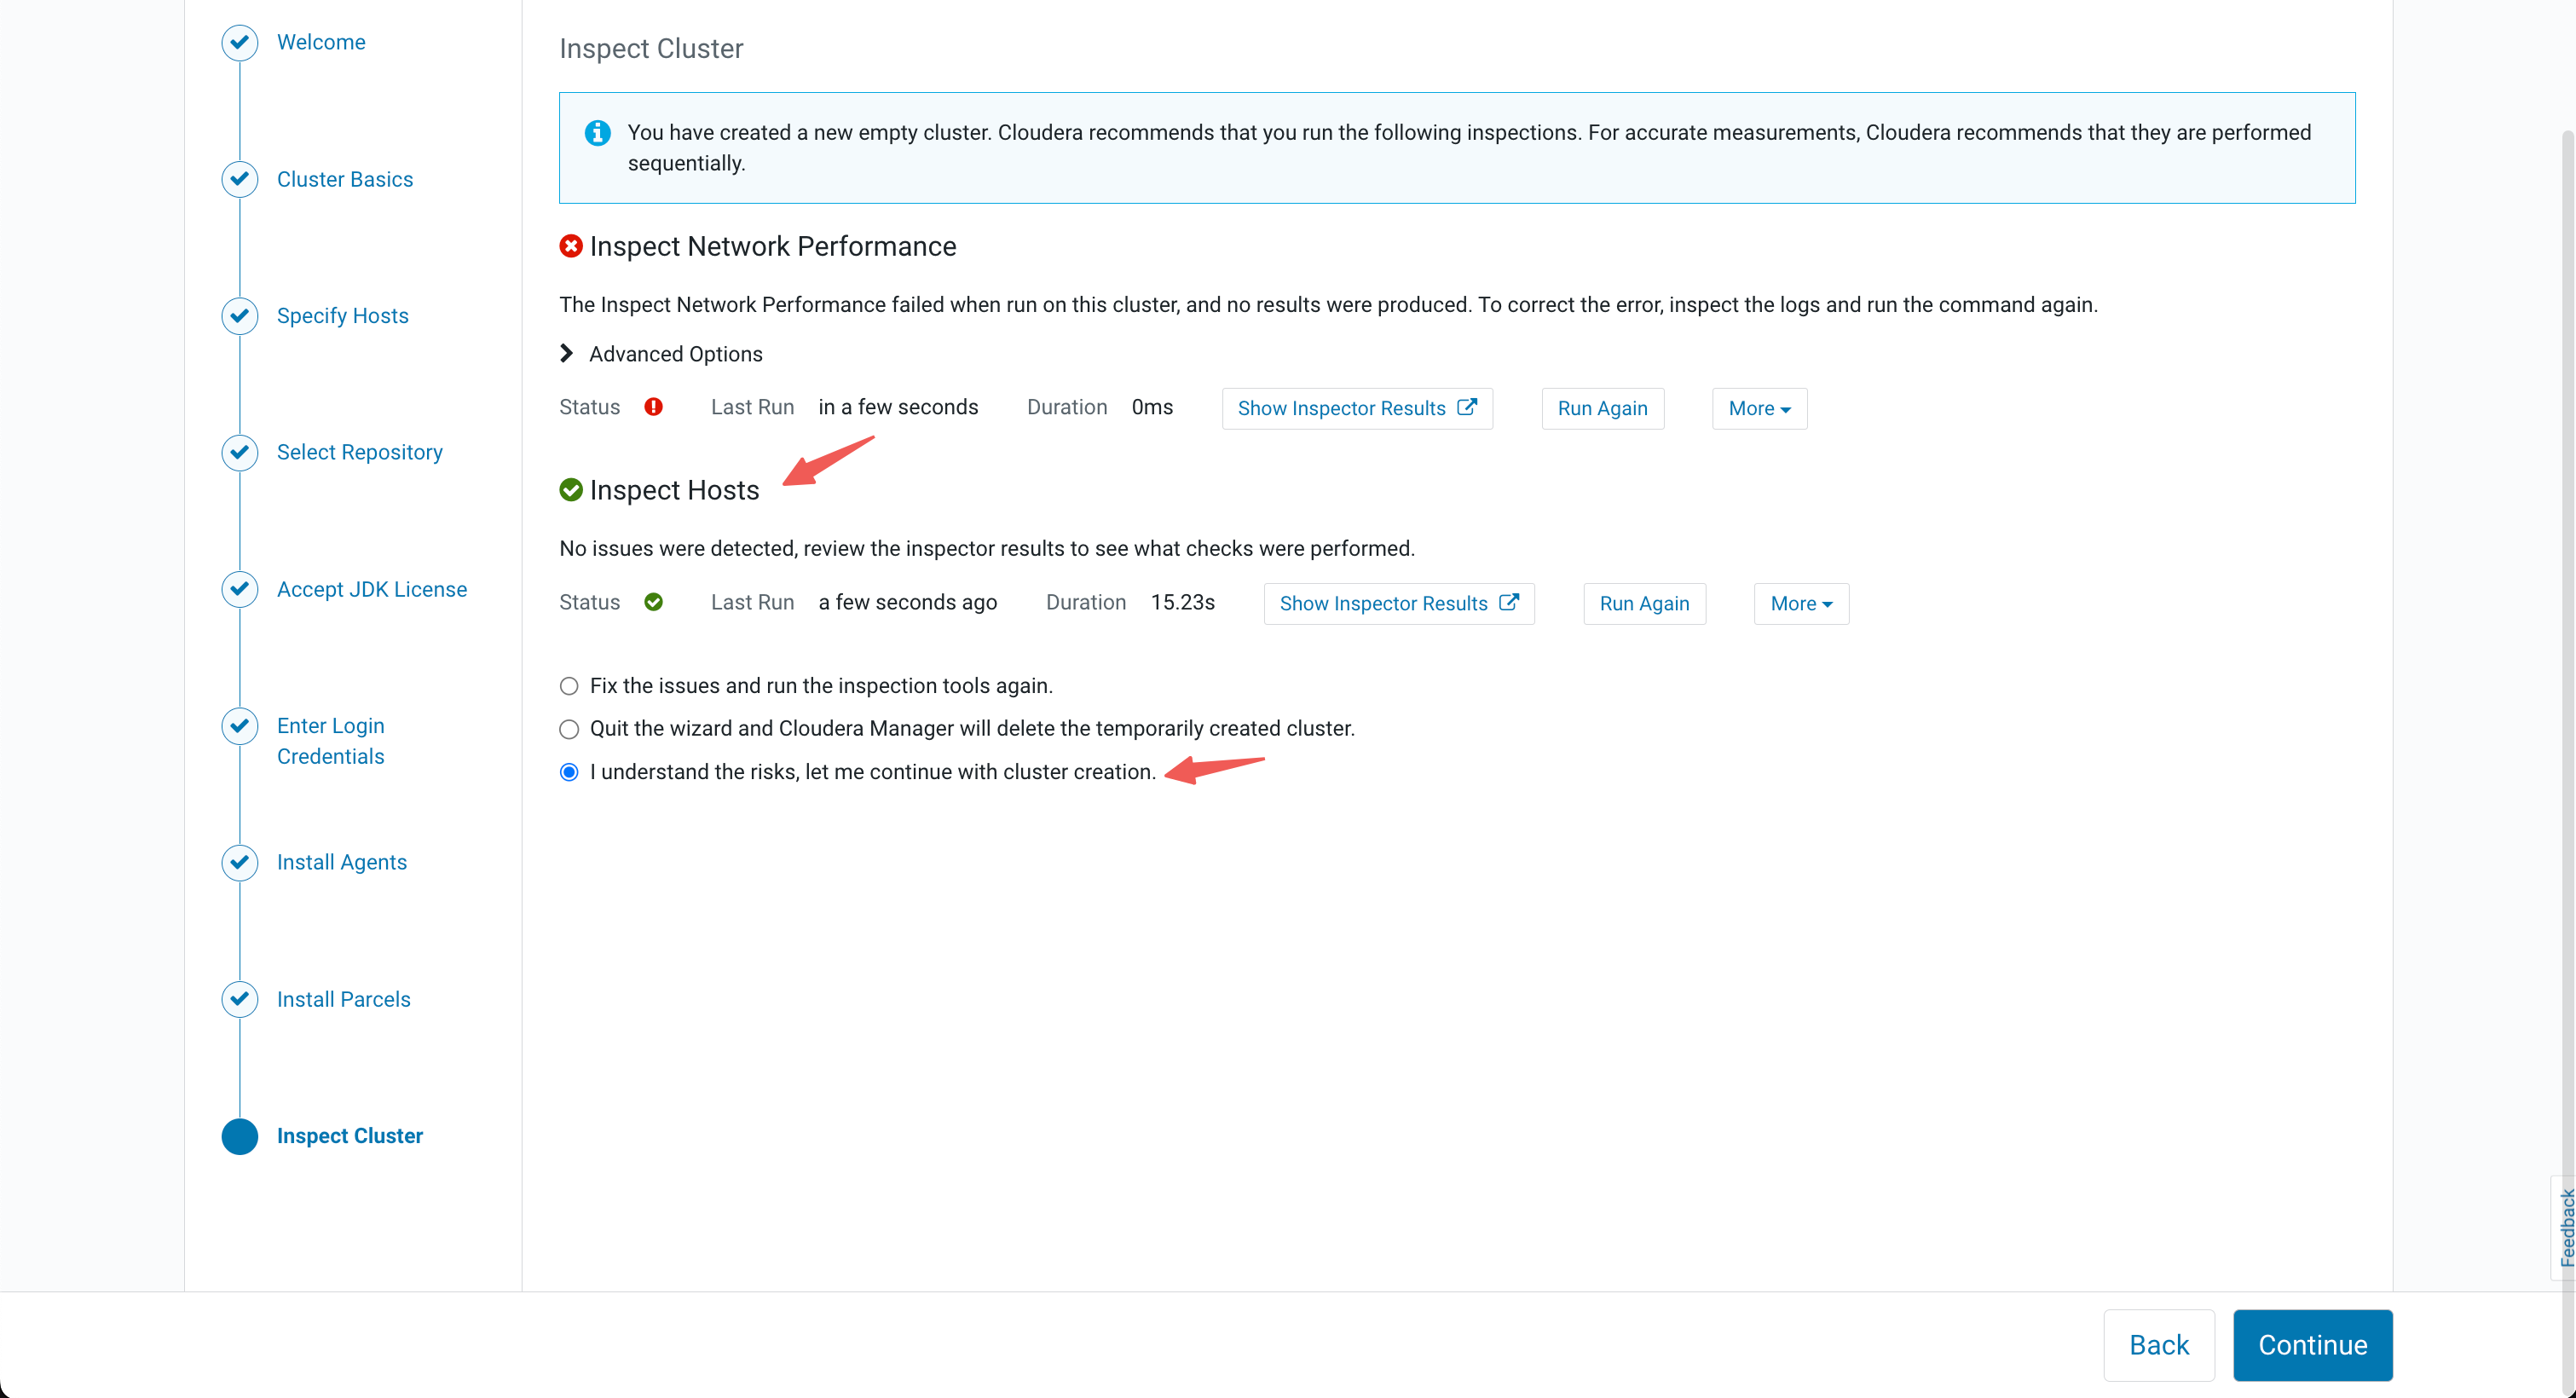
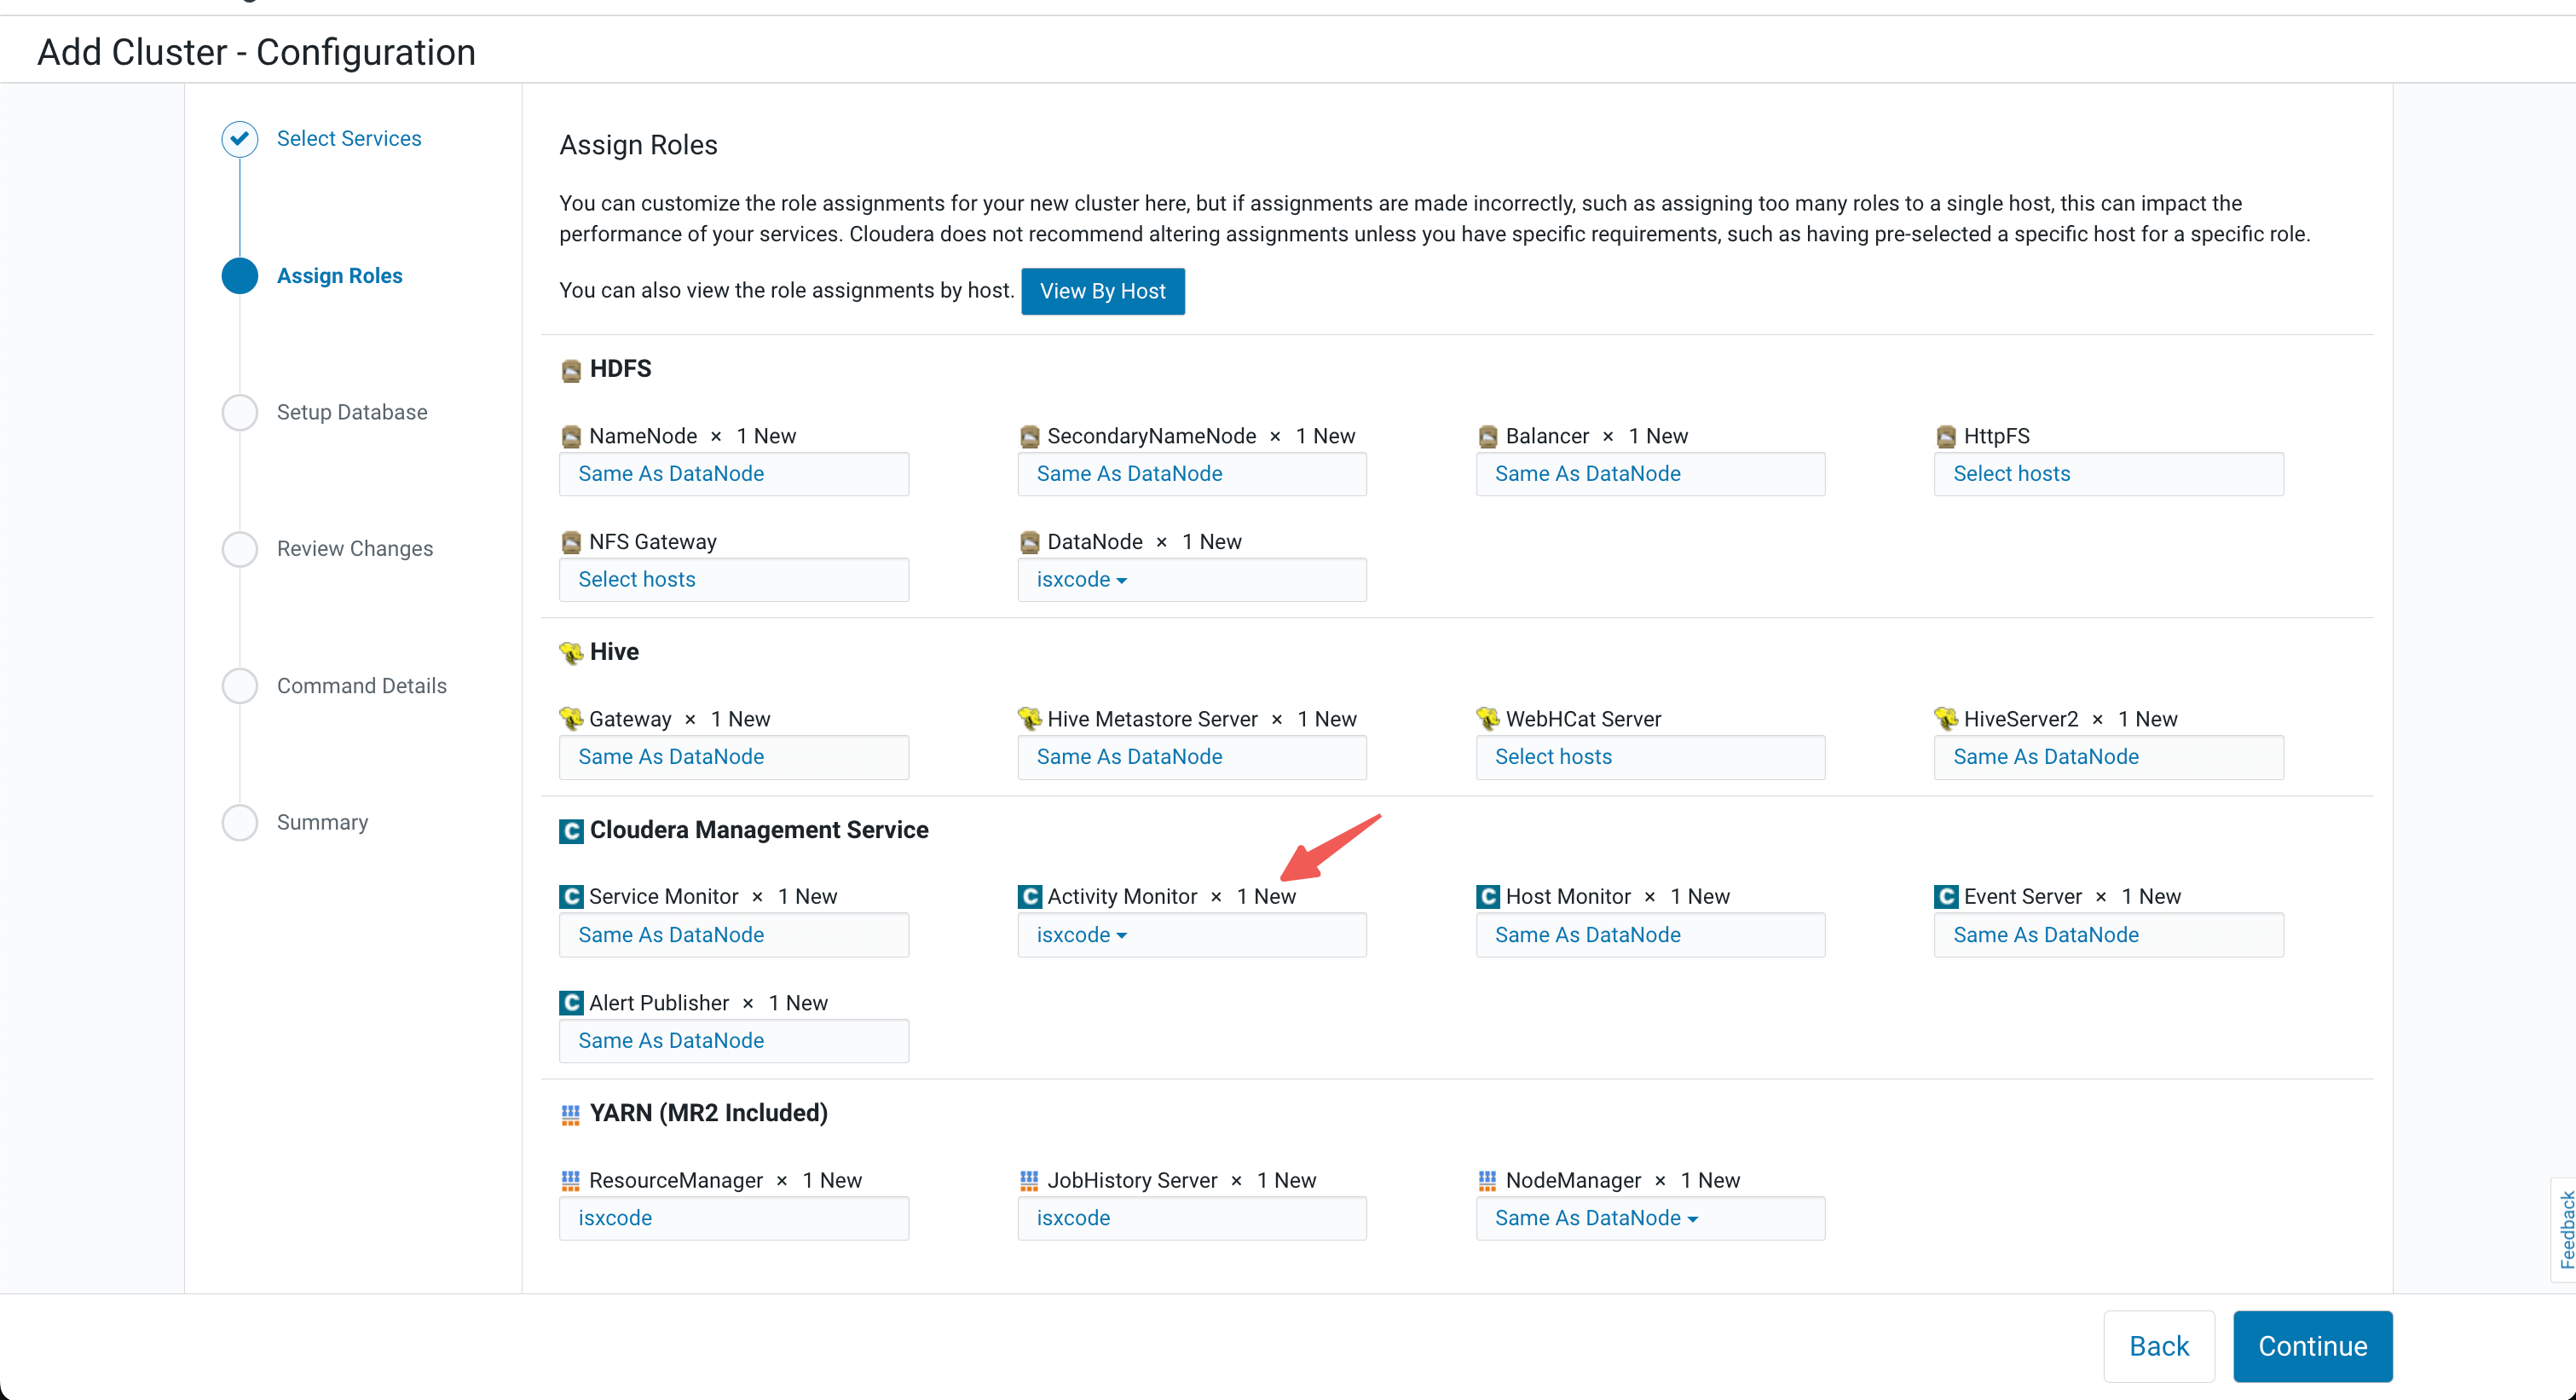
安装服务
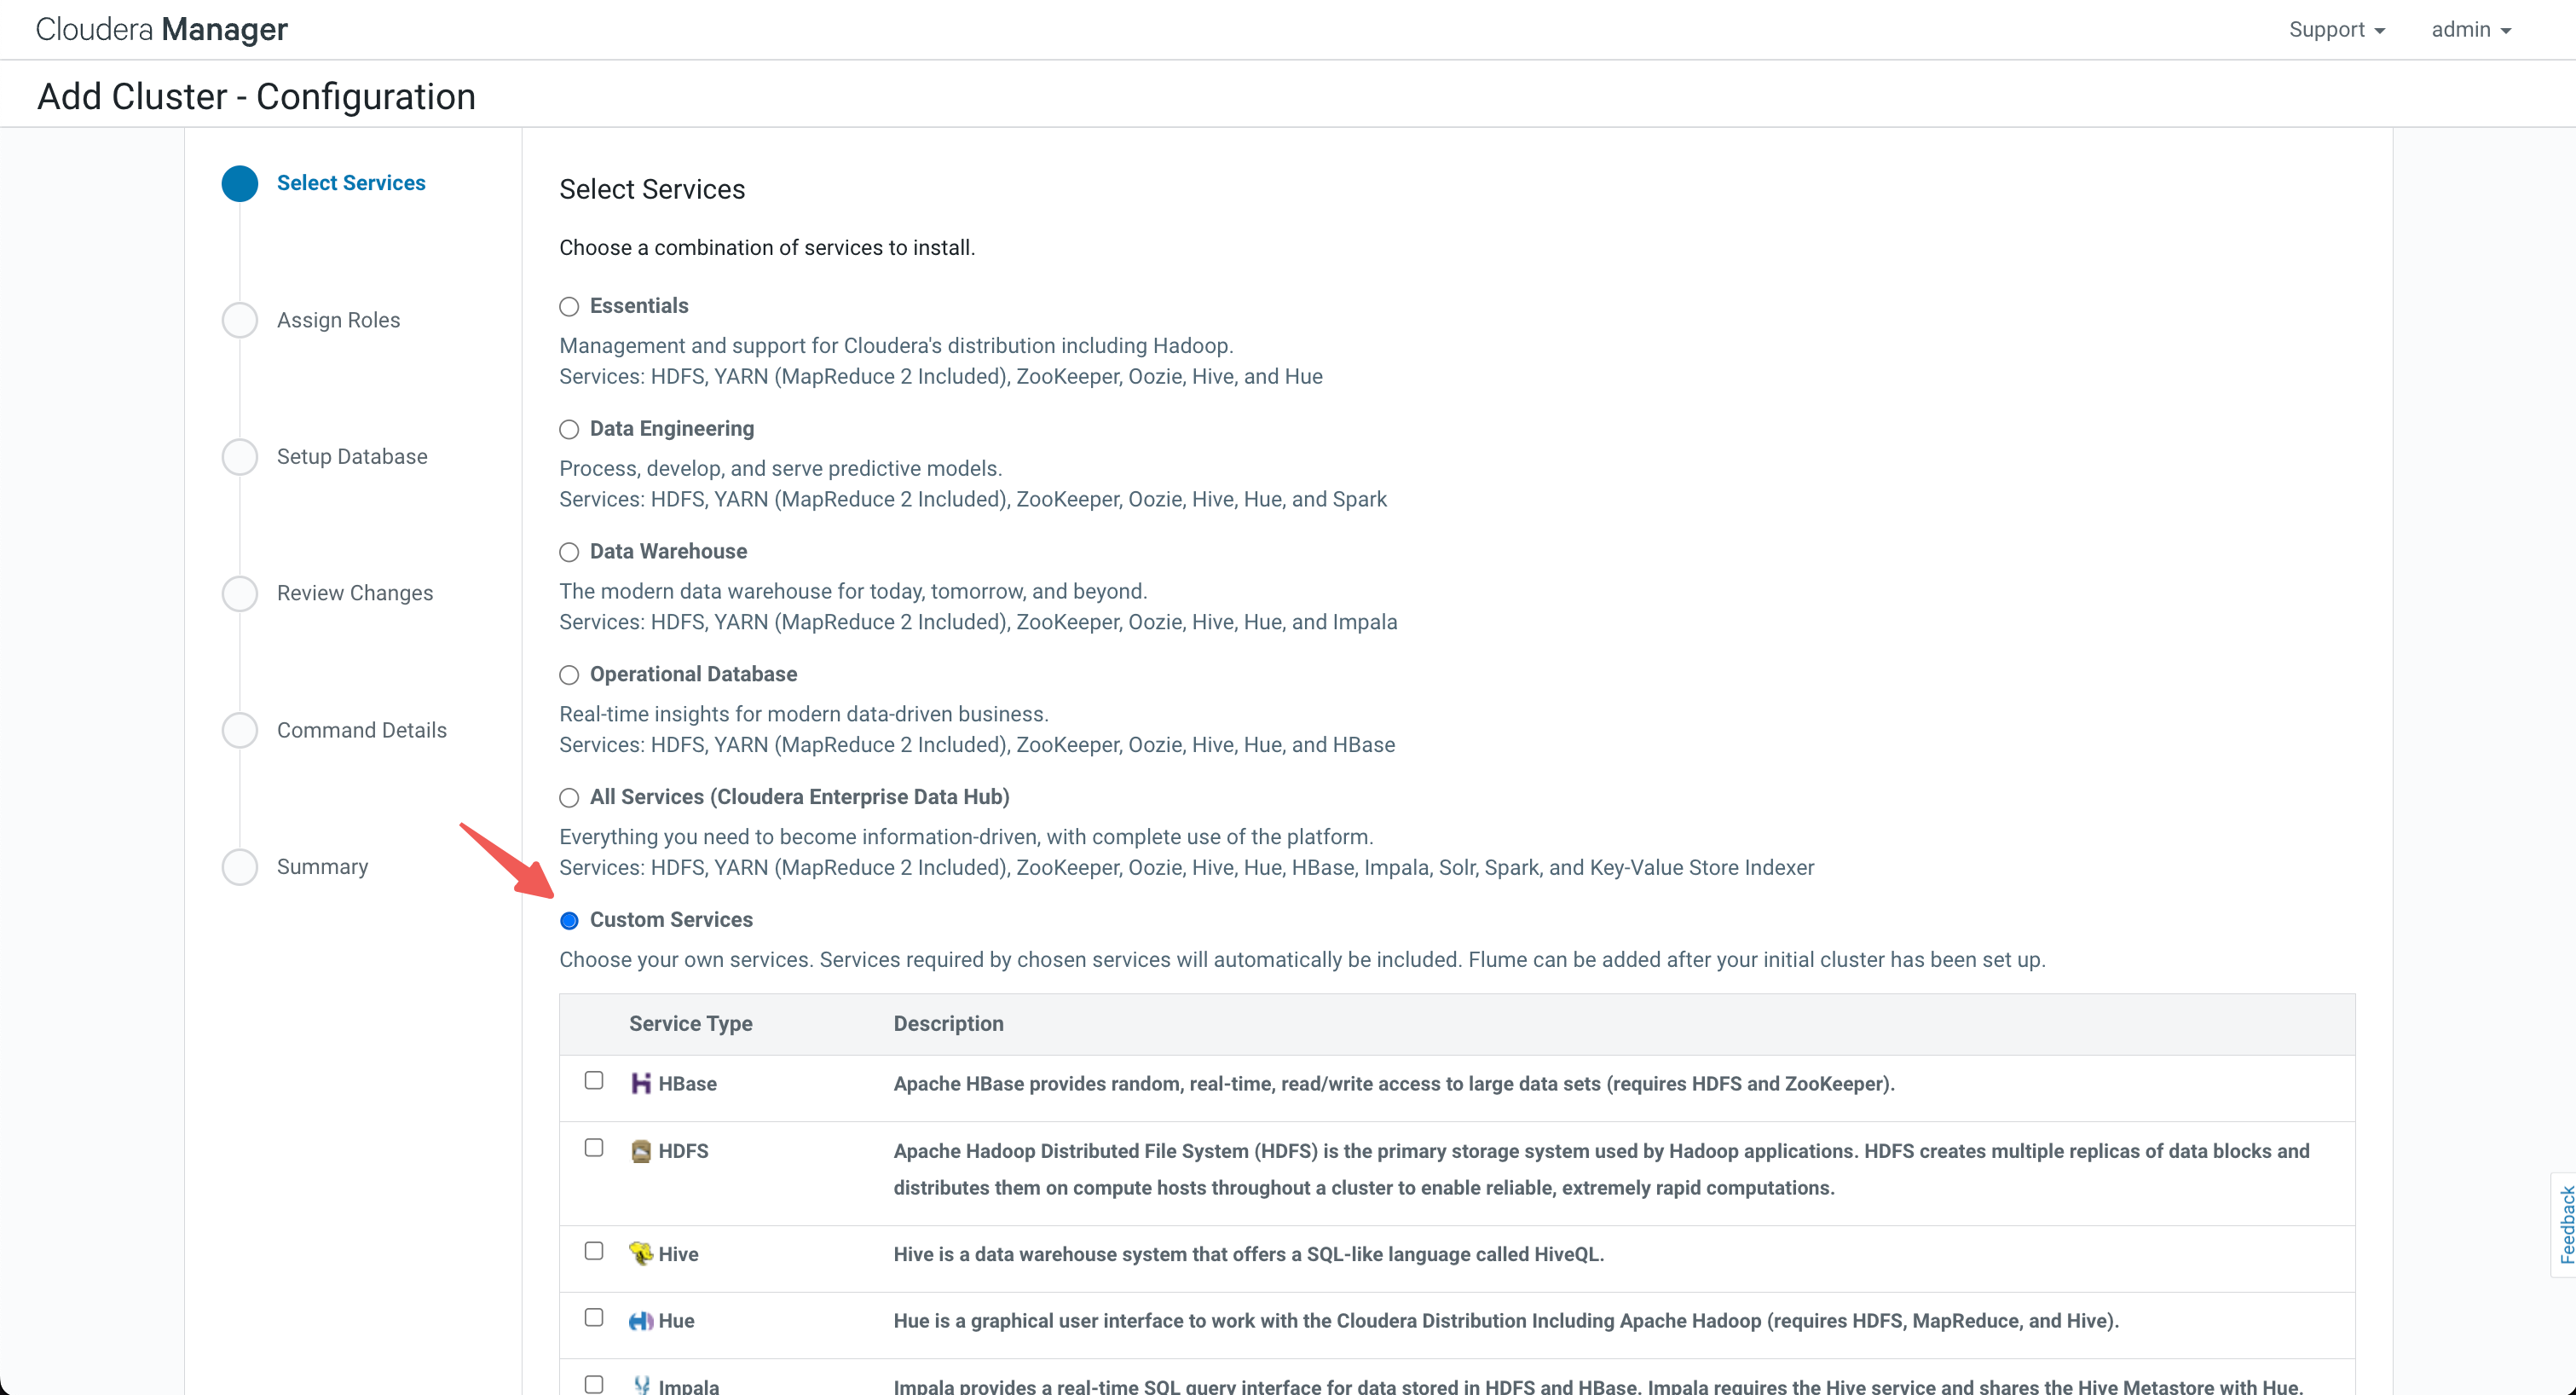
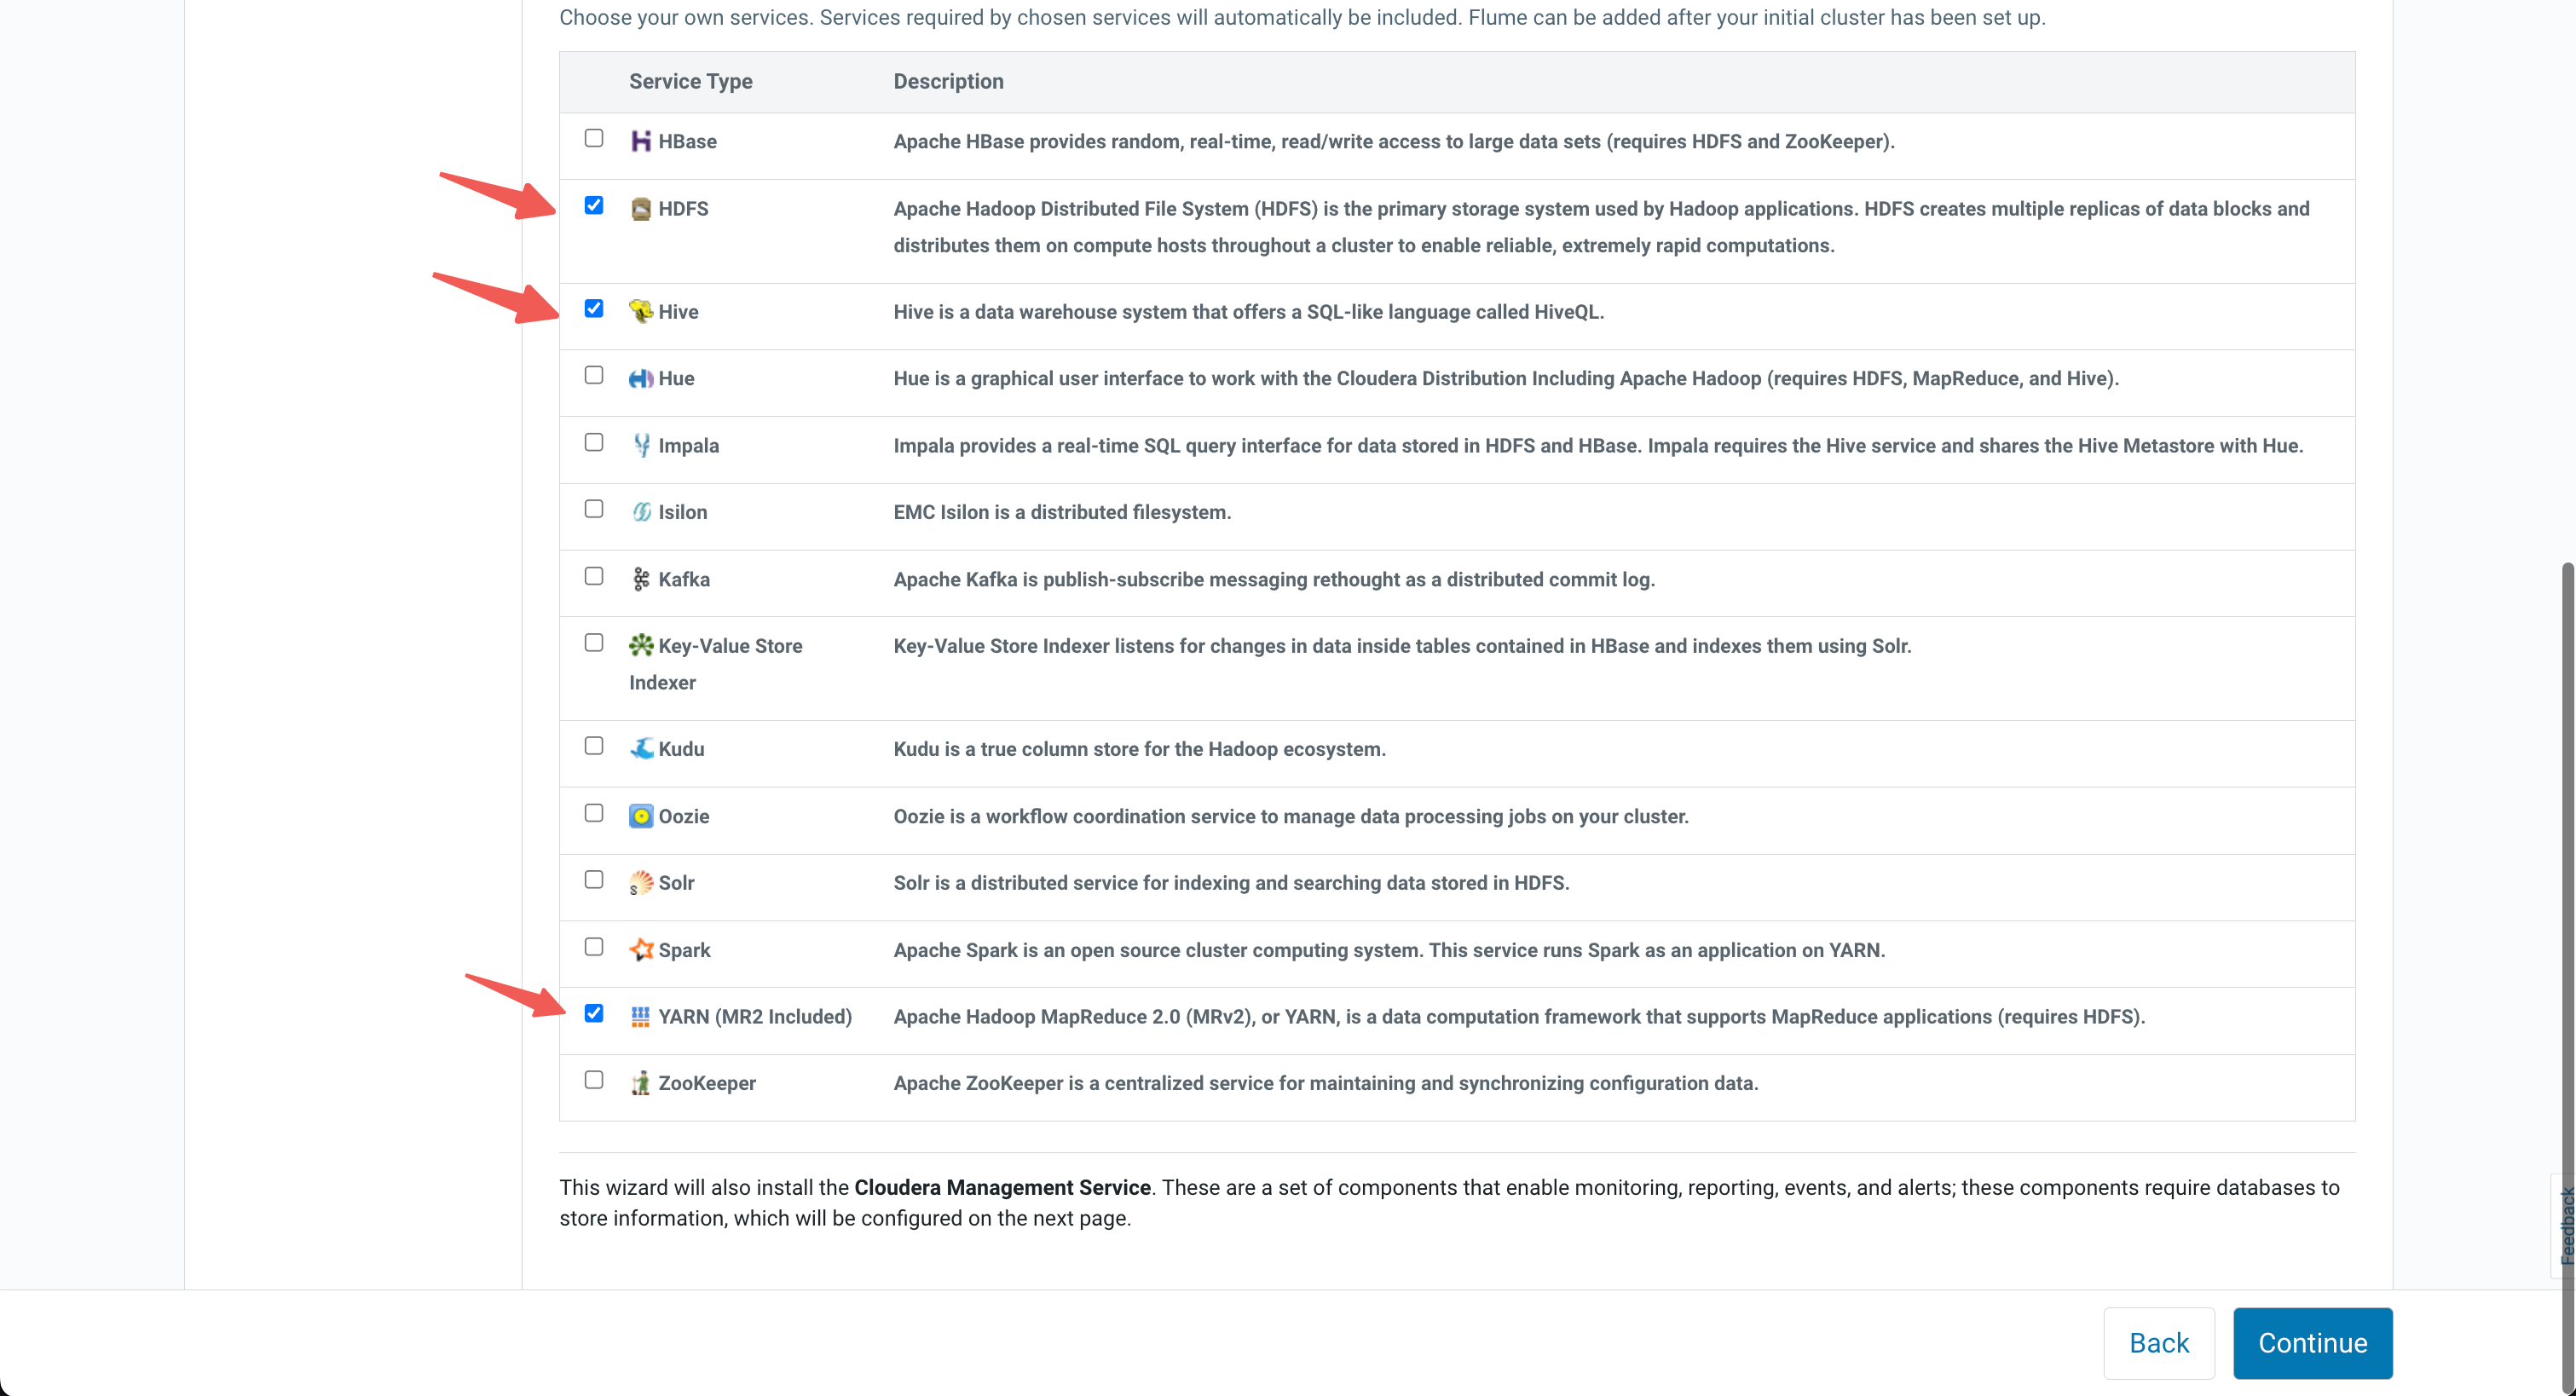
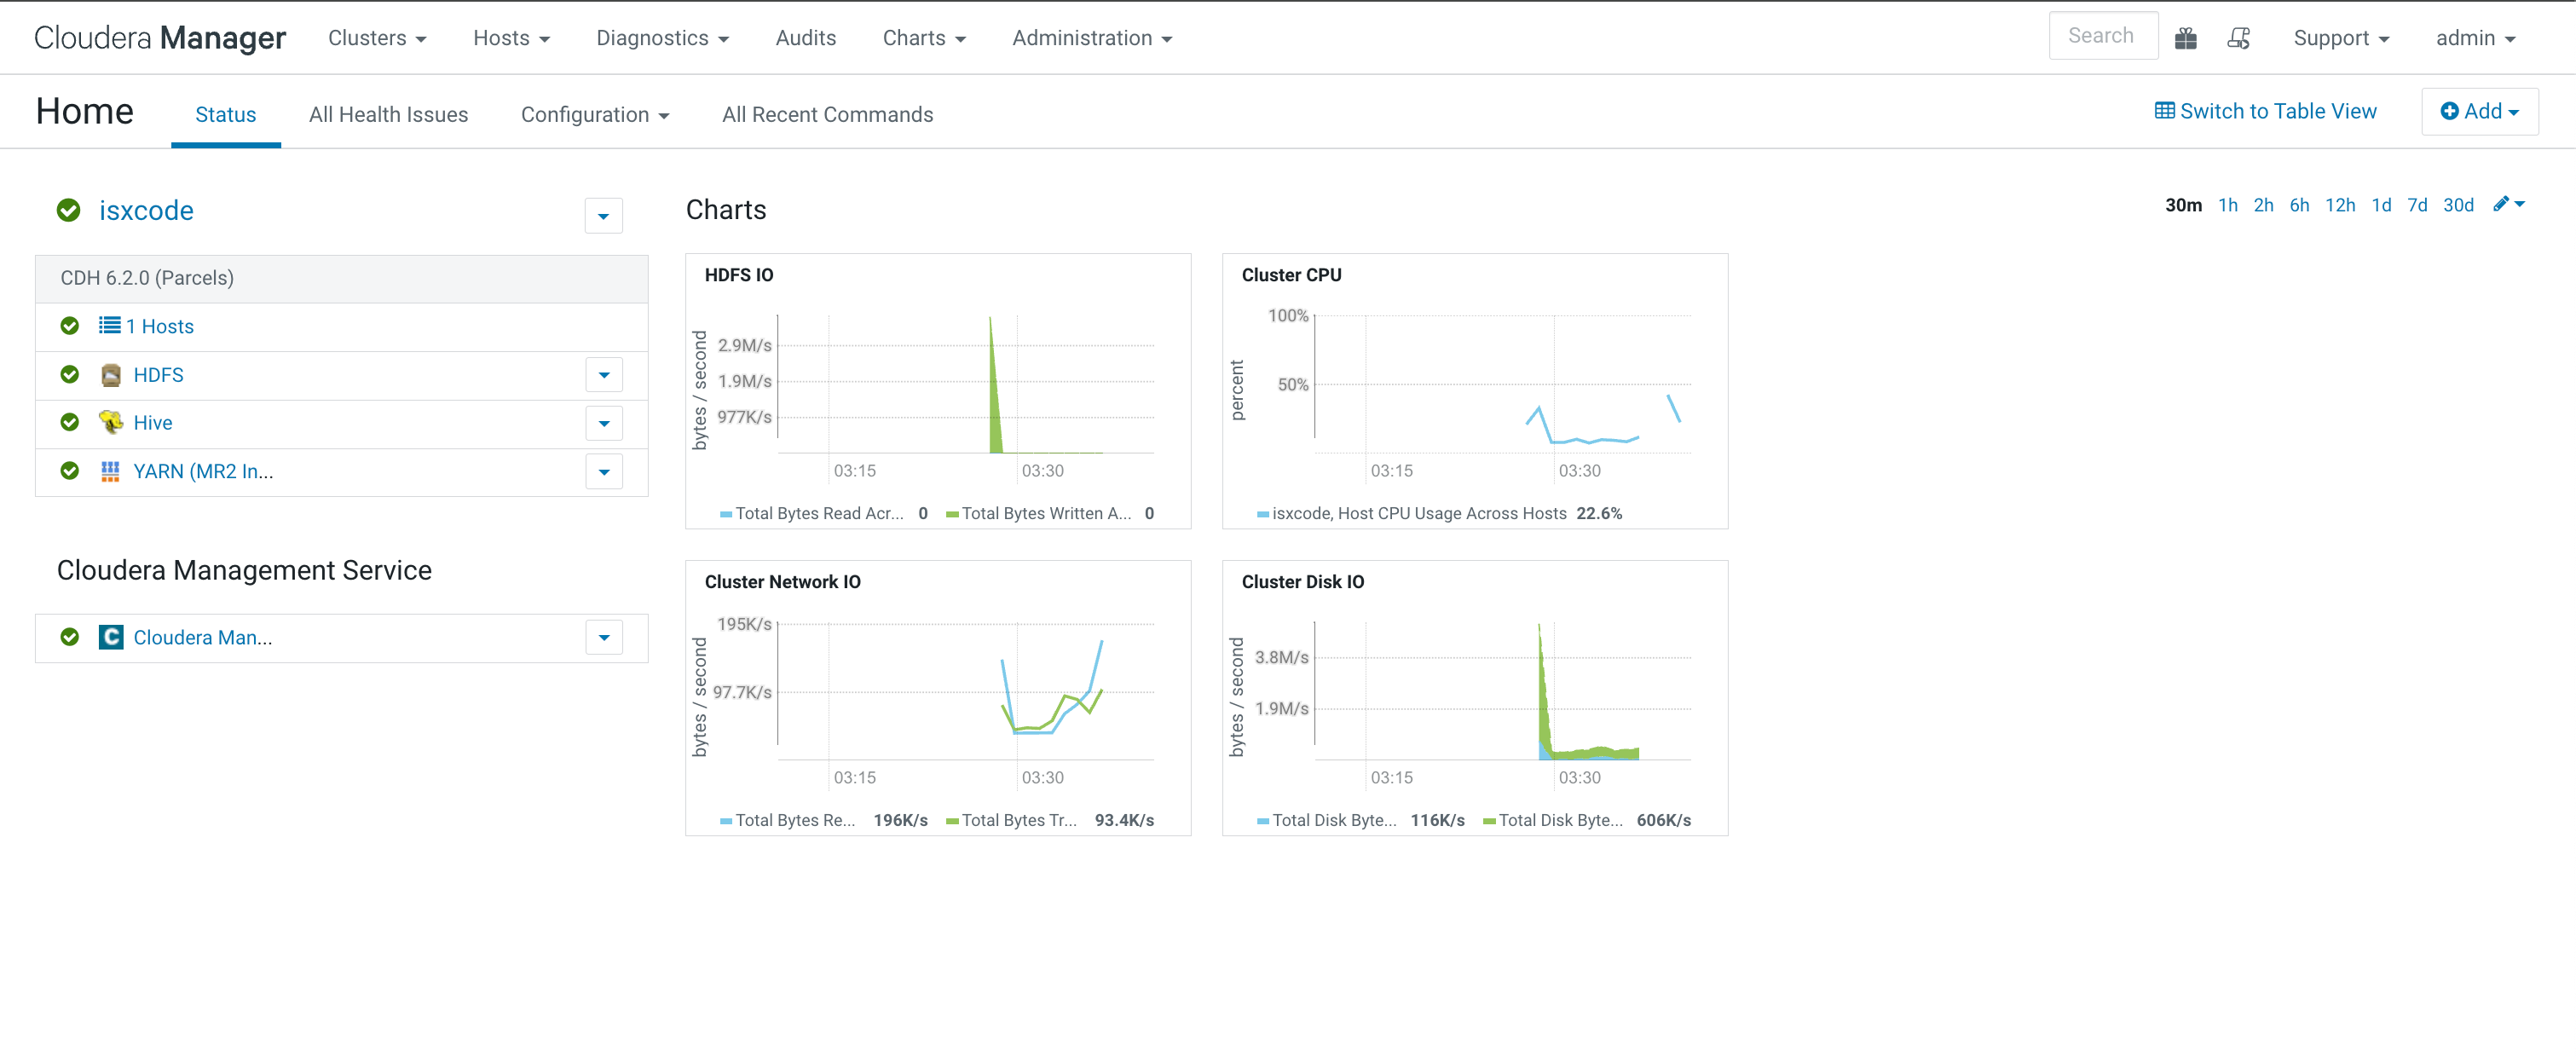
只需要安装hive、hdfs、yarn。推荐安装zookeeper
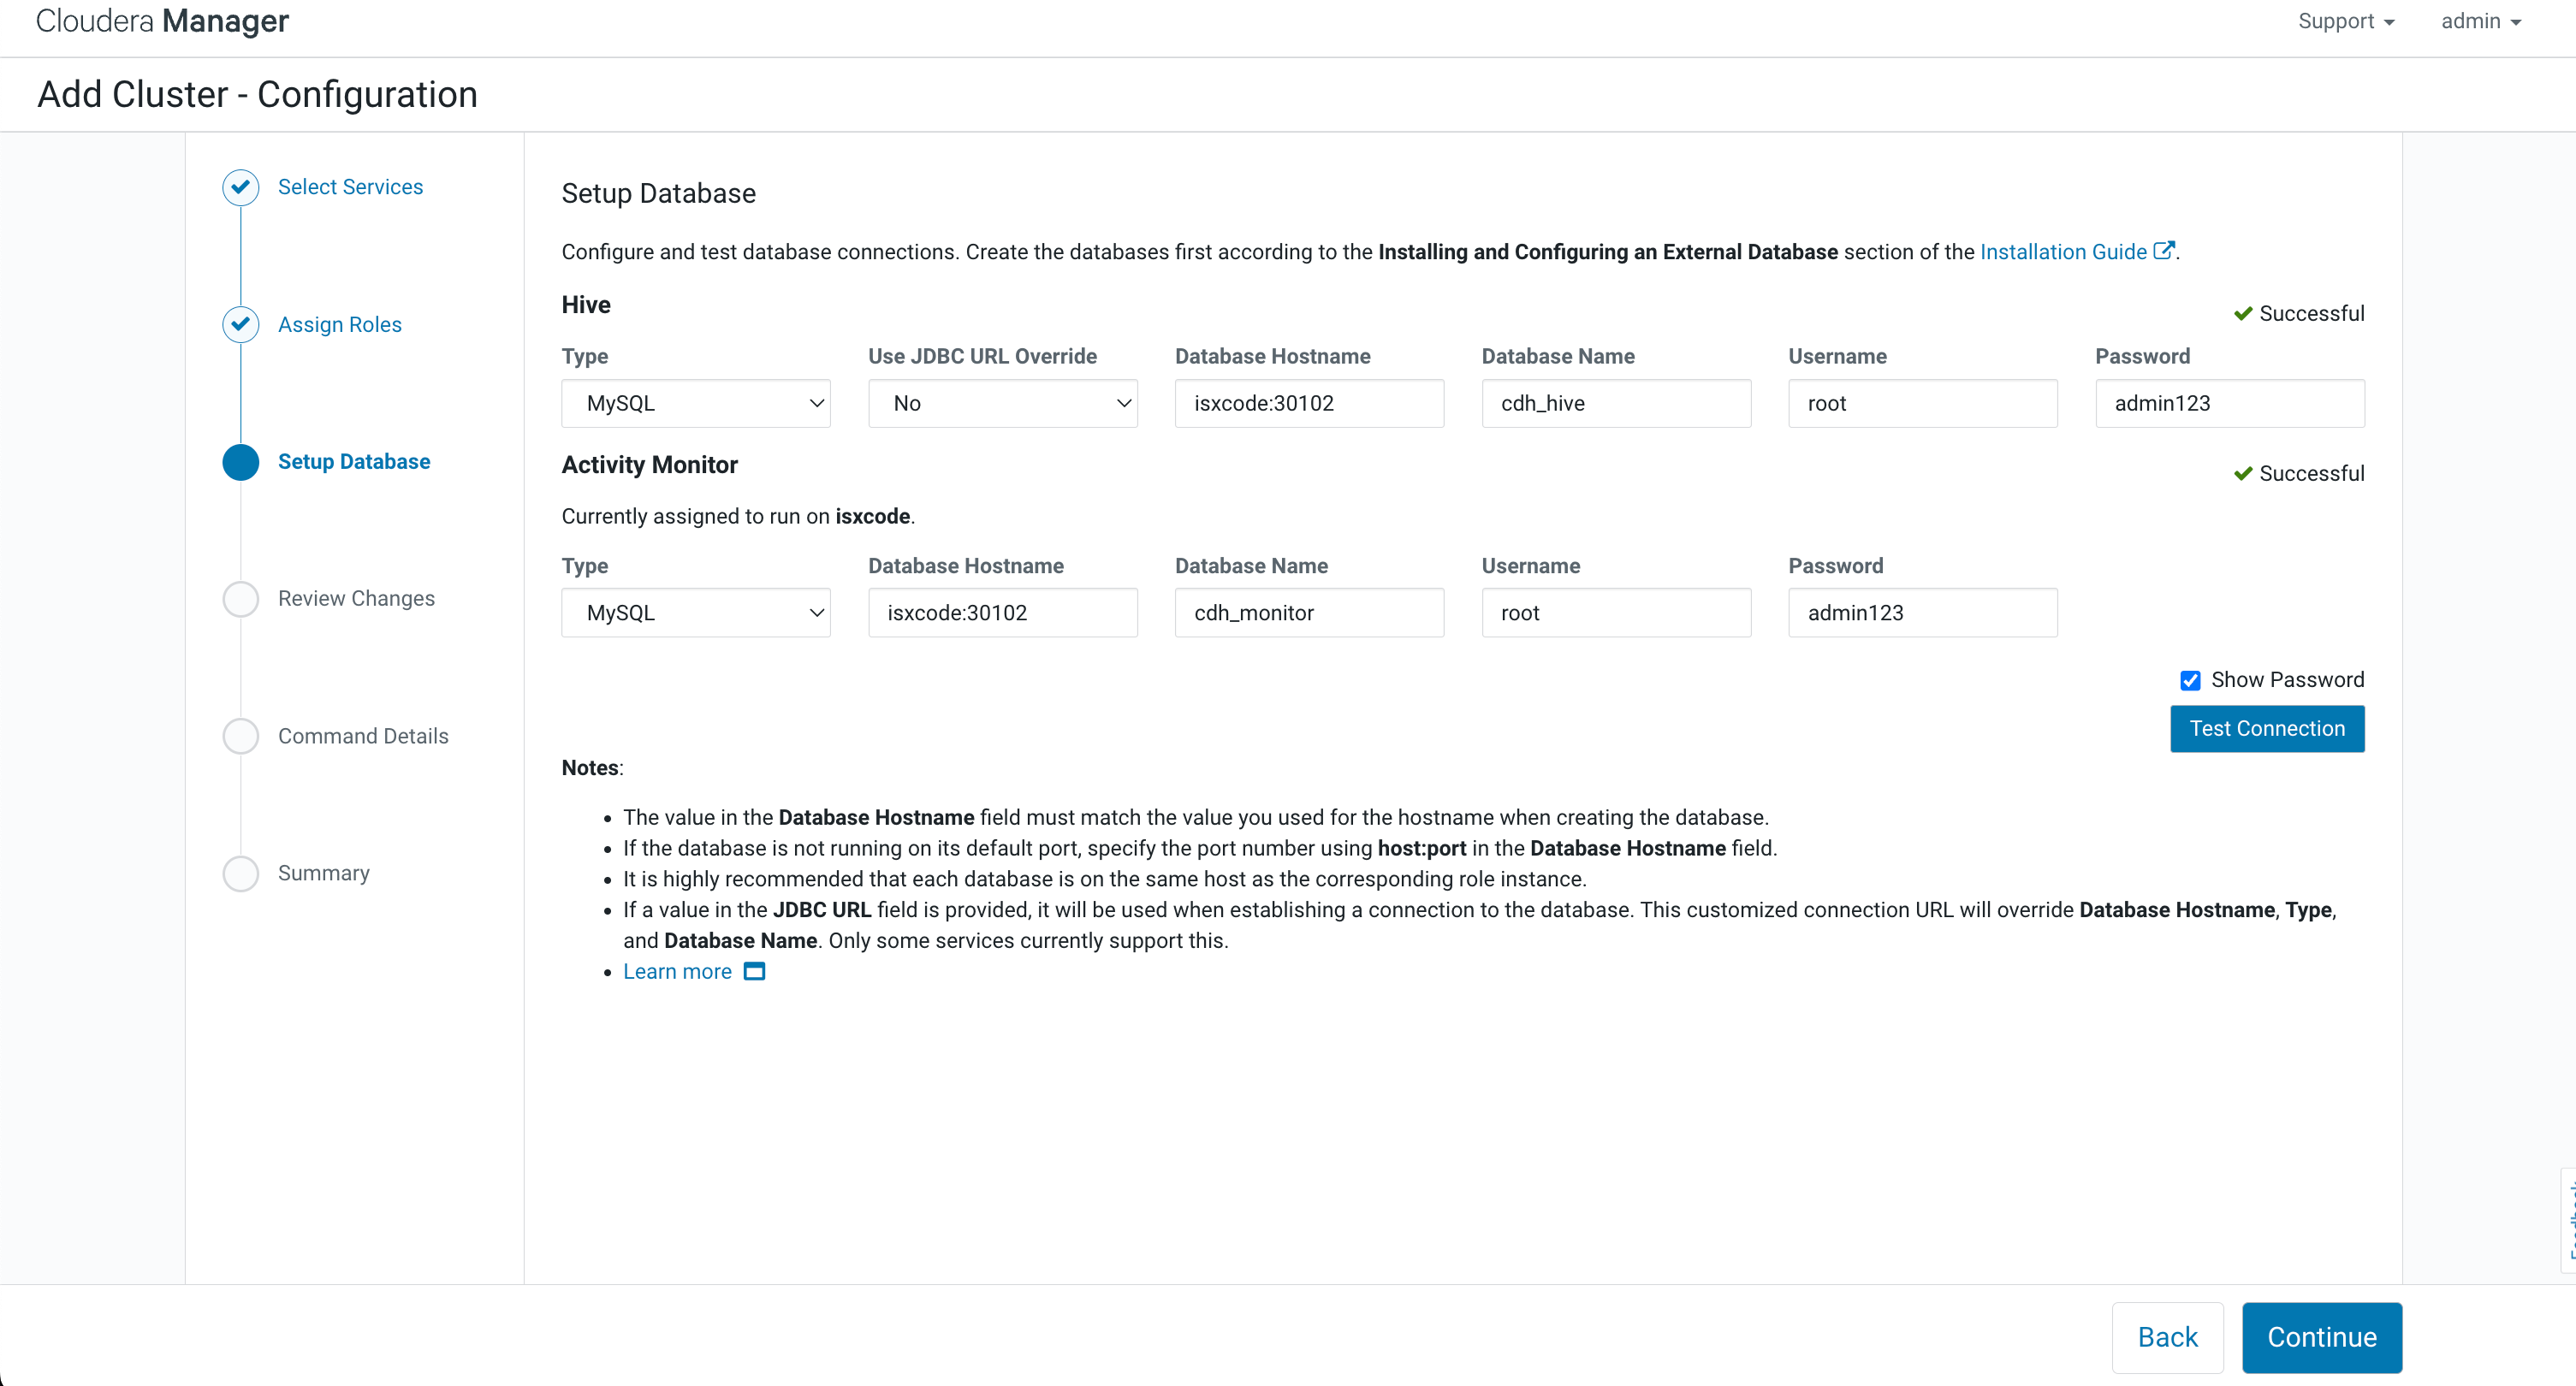
使用之前创建的cdh_hive和cdh_monitor
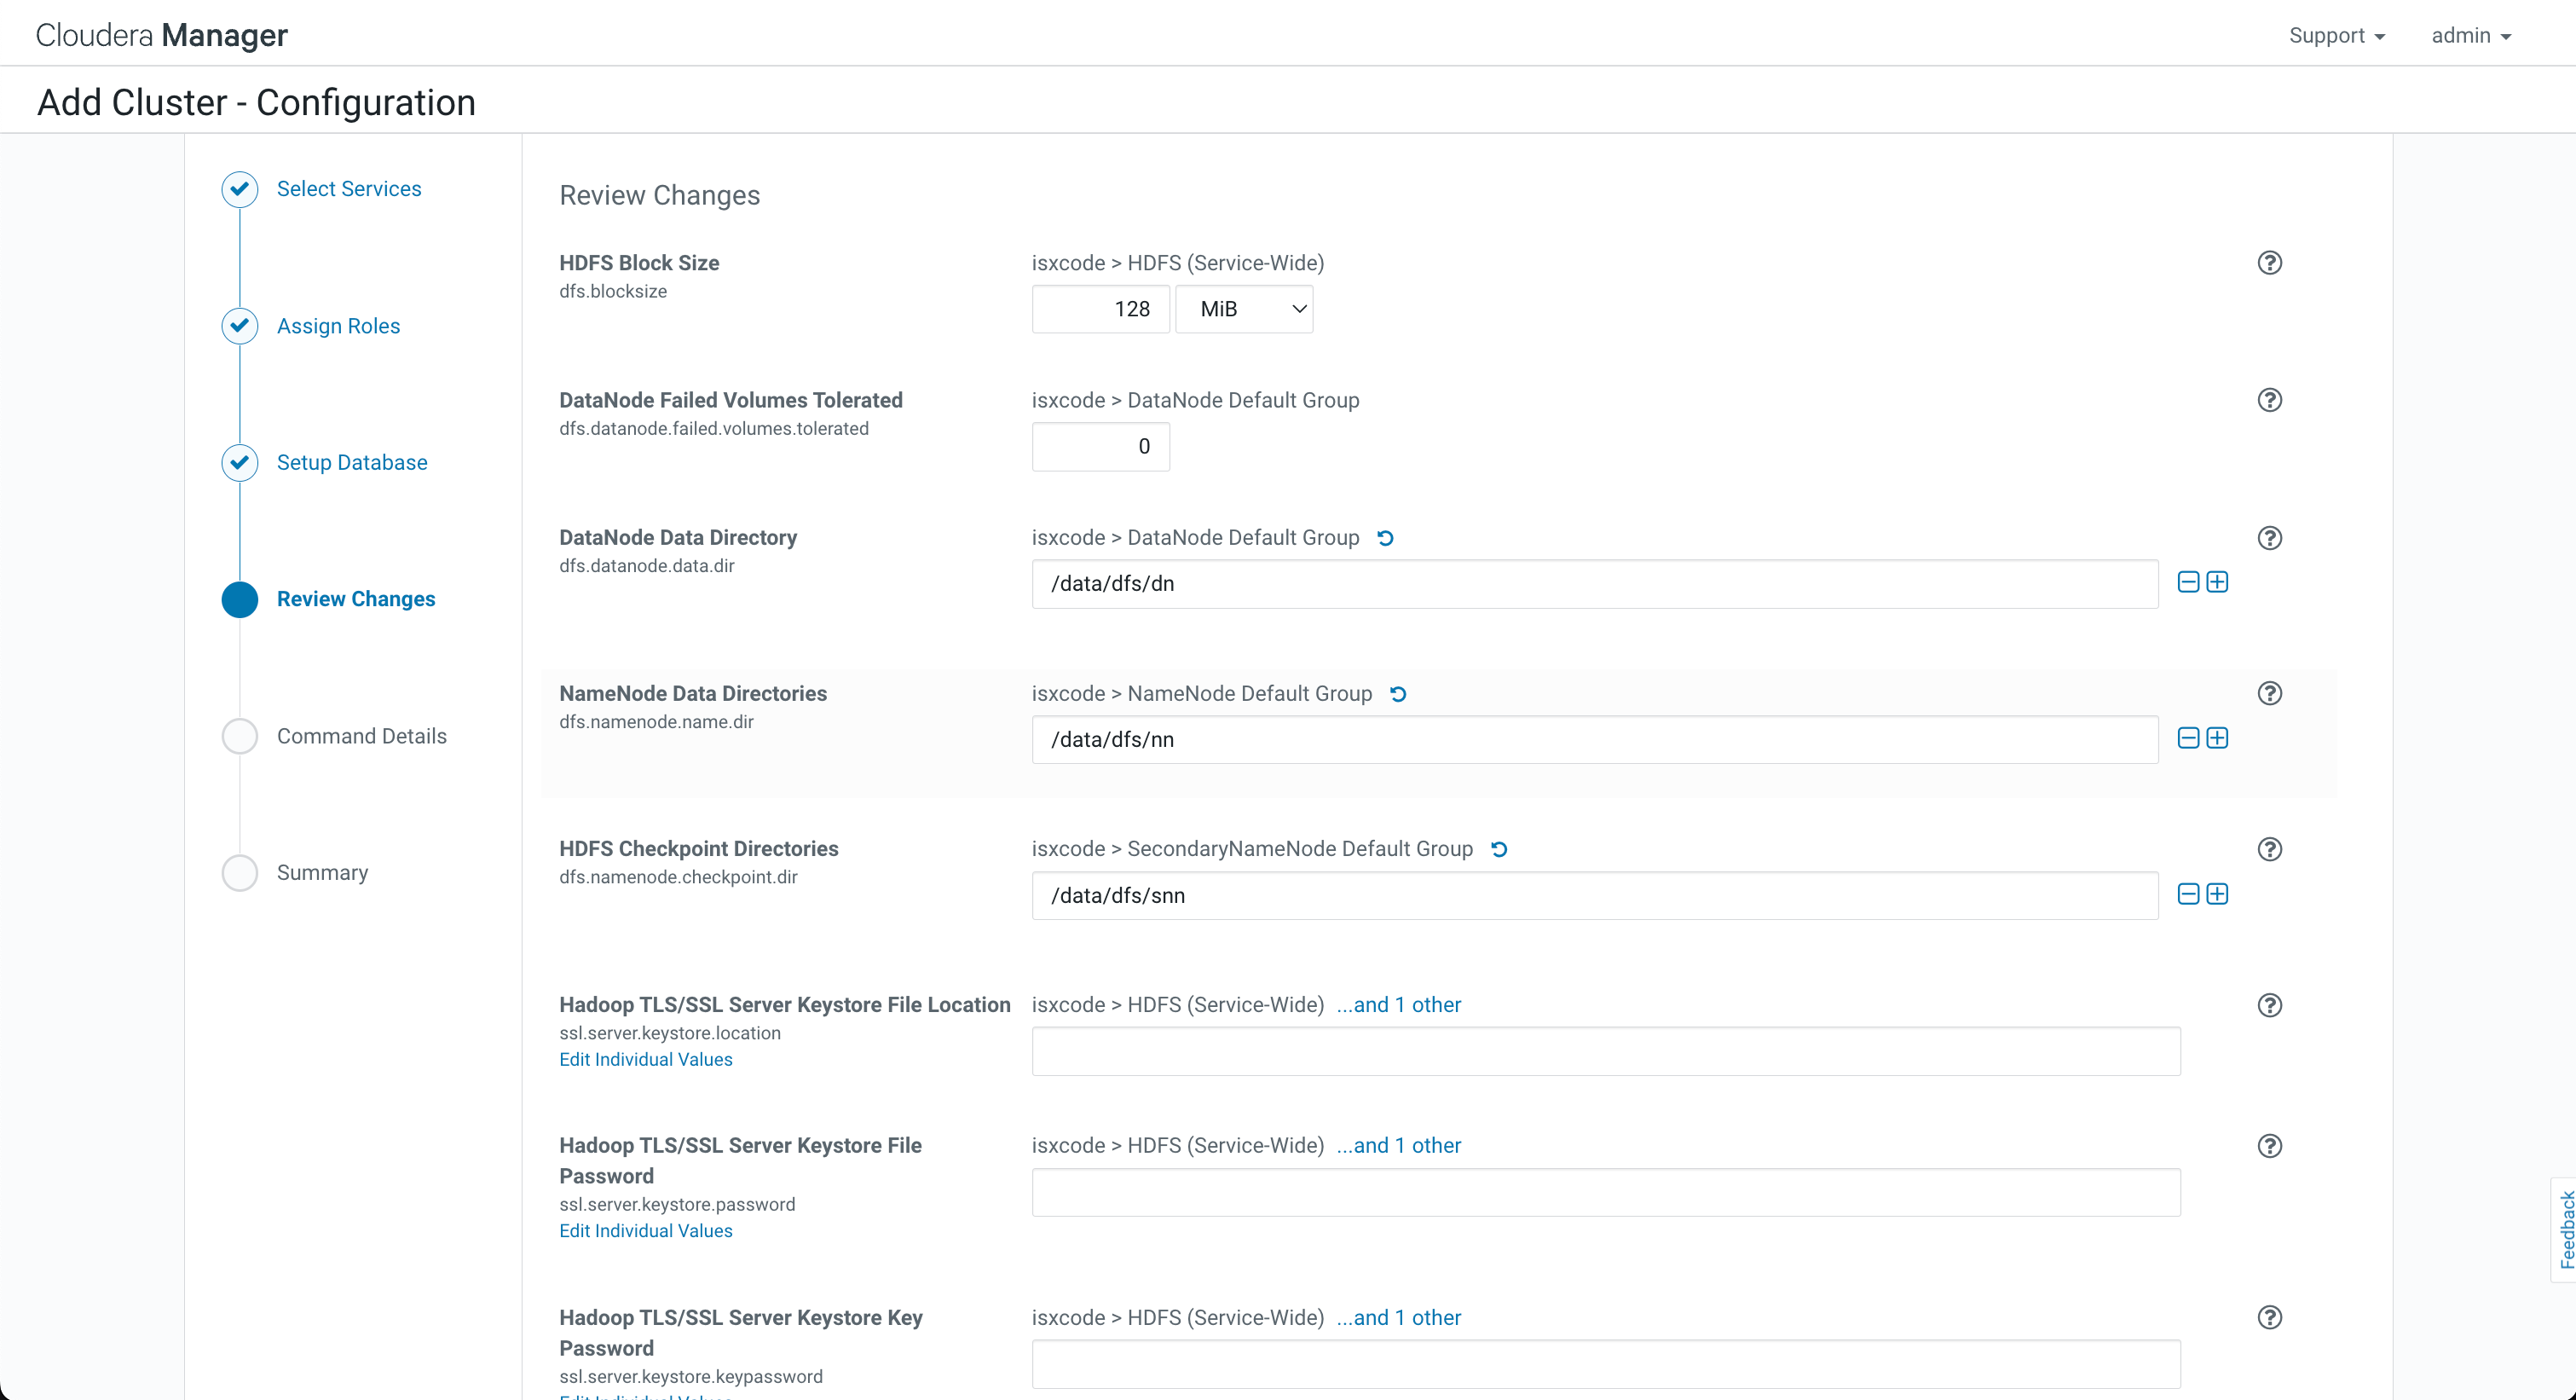
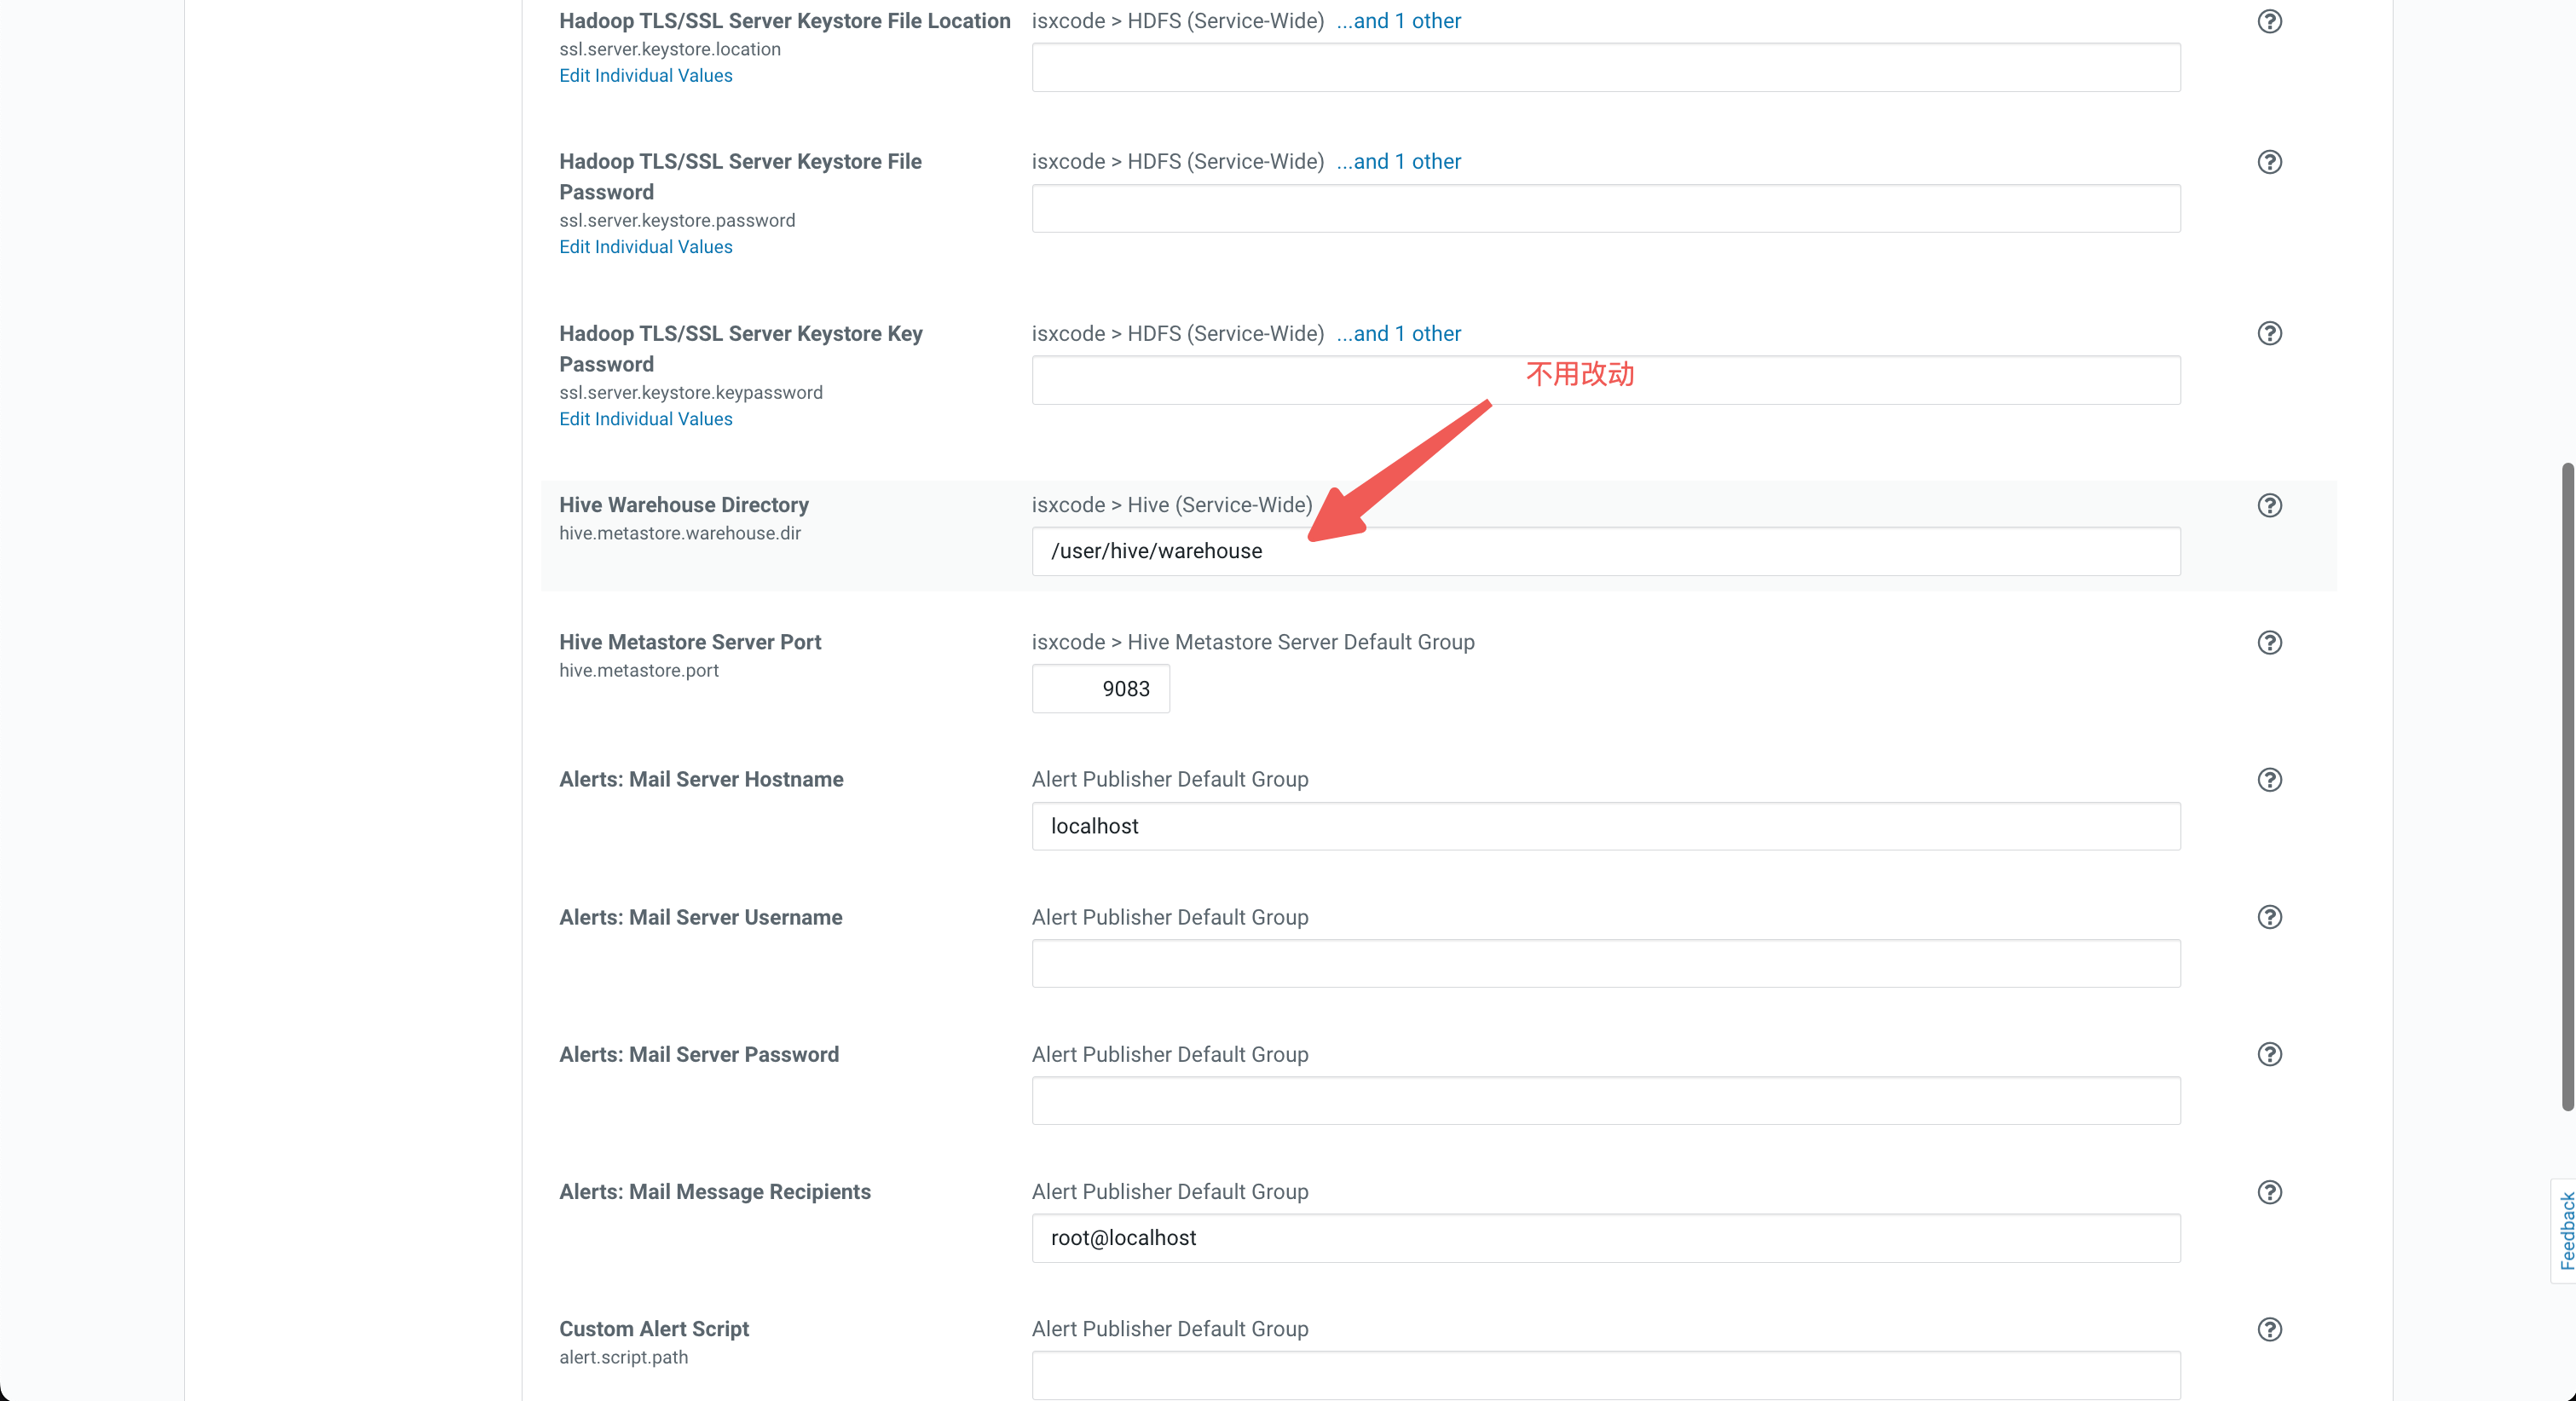
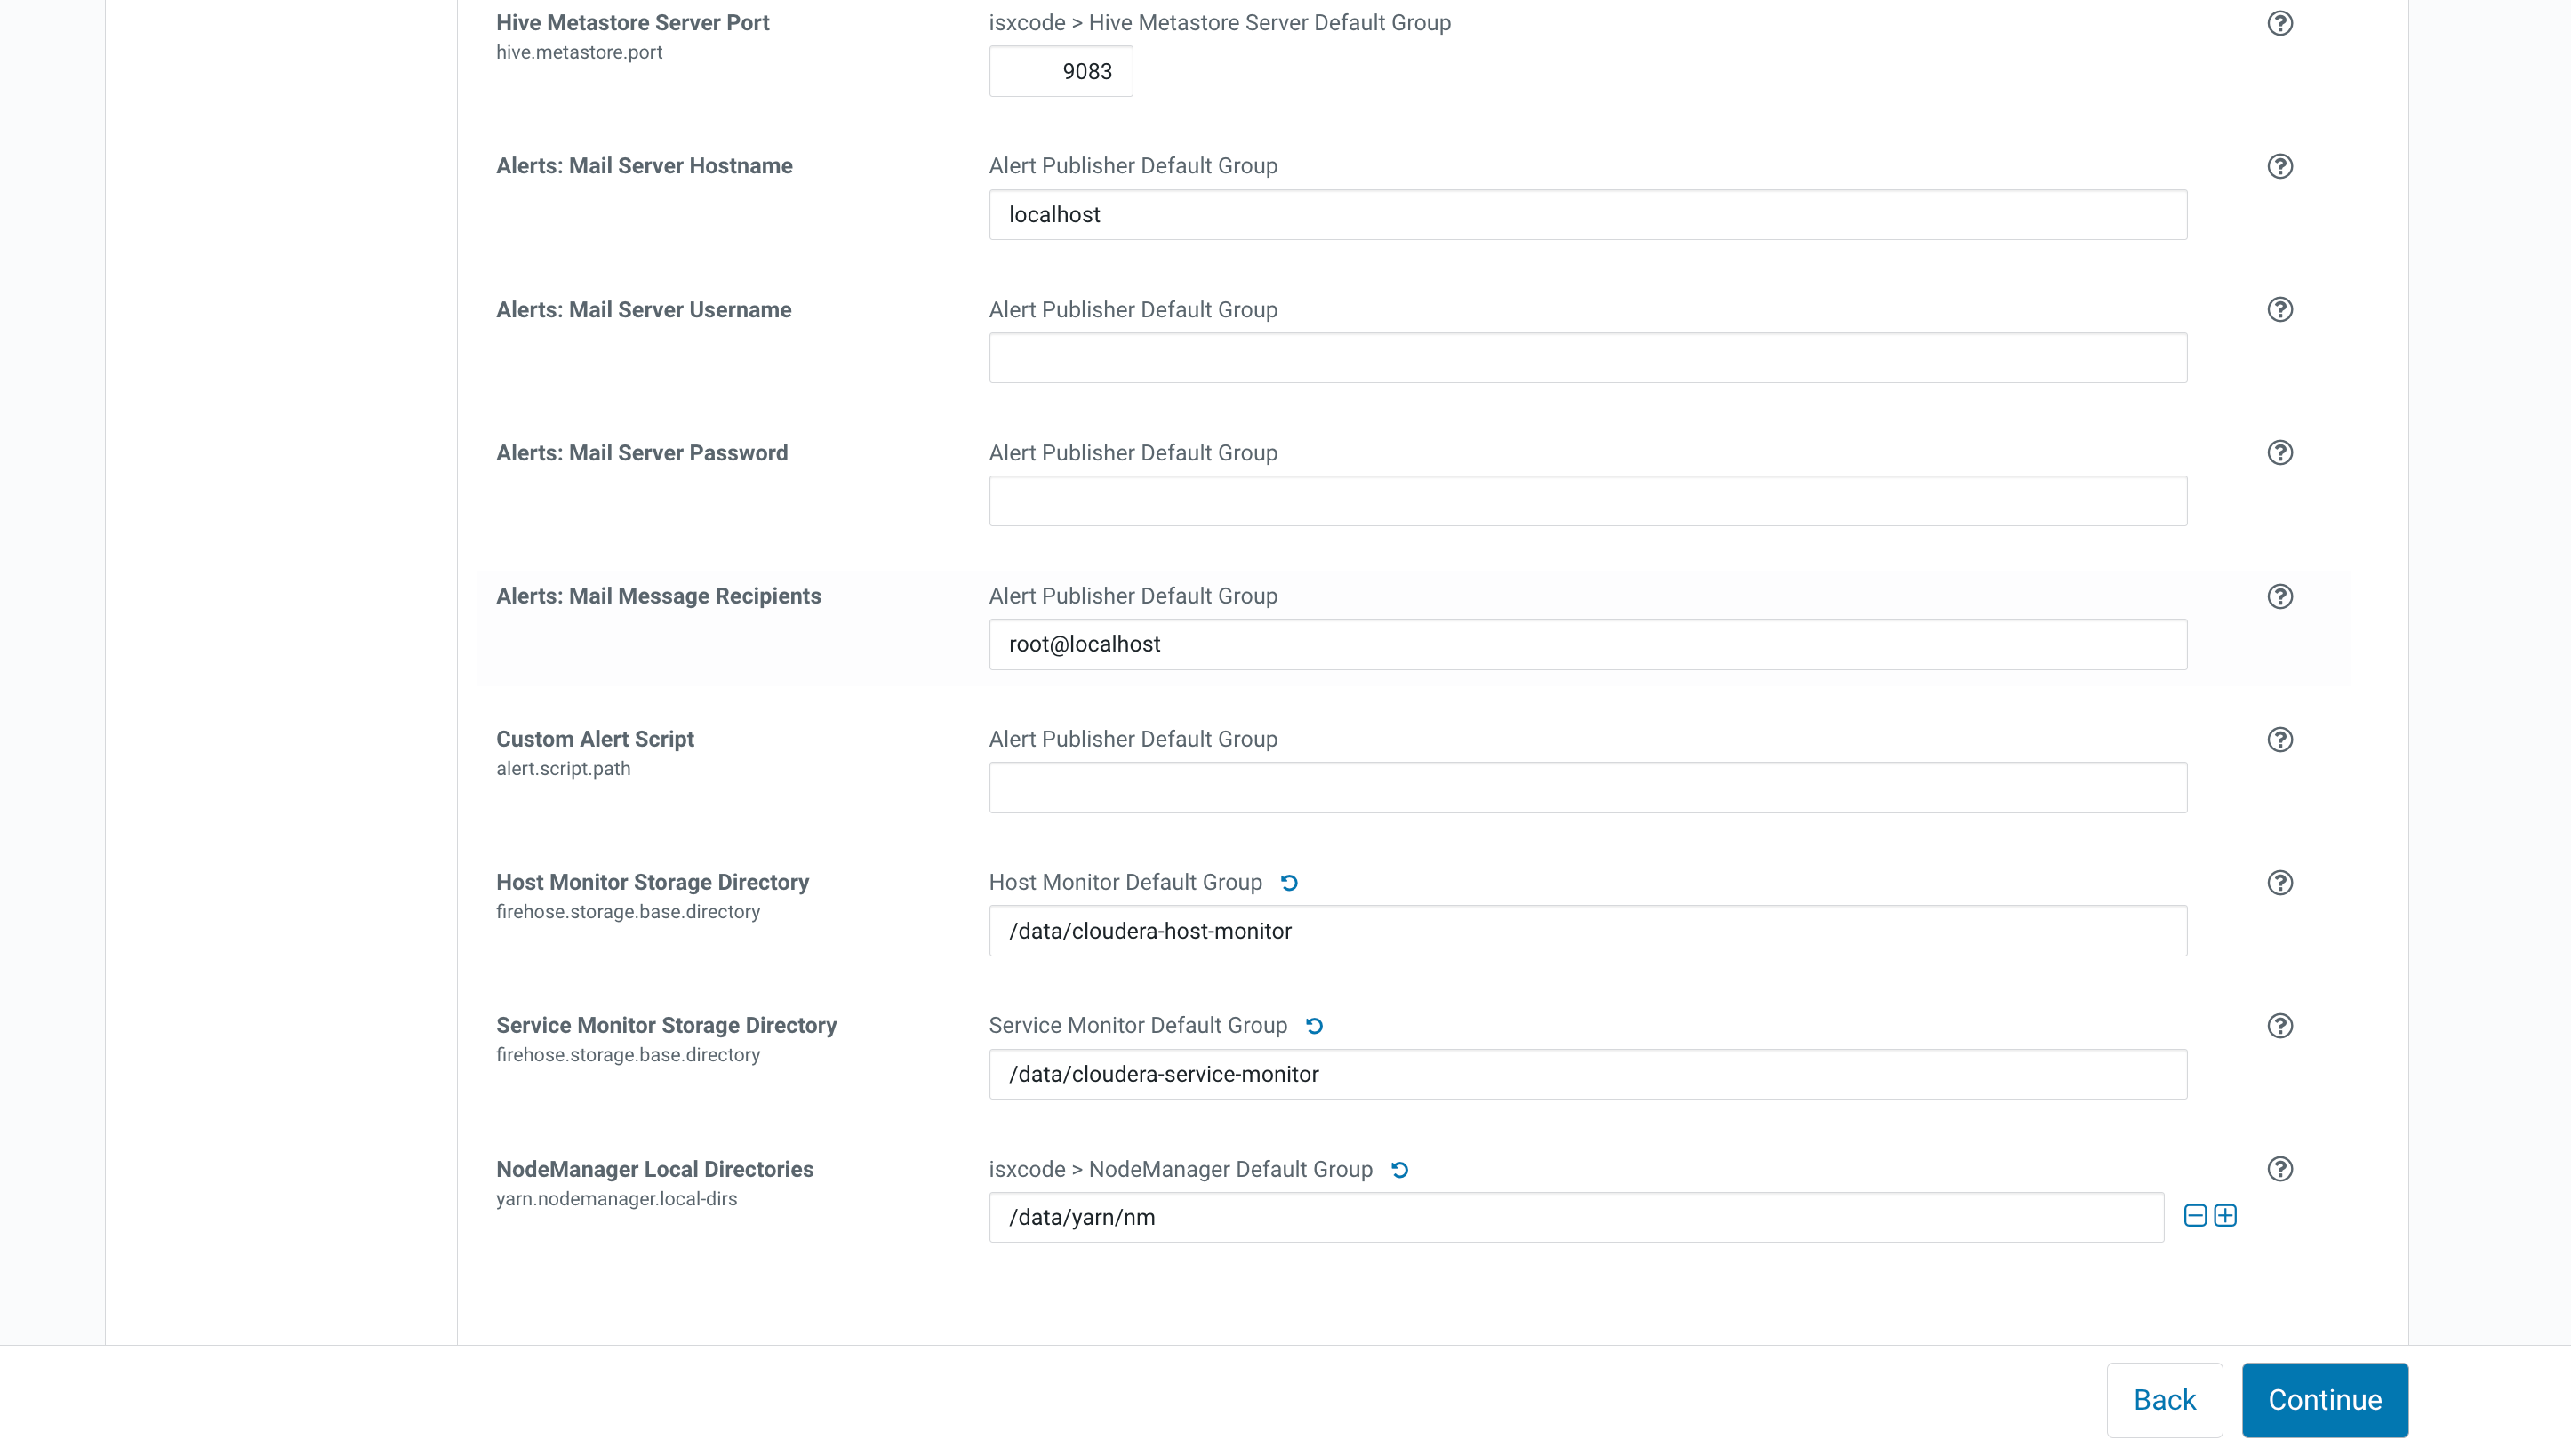
修改安装路径
一定不要提前创建目录!!! 会有权限问题
/data/dfs
/data/yarn
/data/cloudera-host-monitor
/data/cloudera-service-monitor
tee -a /etc/profile <<-'EOF'
export HADOOP_HOME=/opt/cloudera/parcels/CDH/lib/hadoop
export HADOOP_CONF_DIR=/opt/cloudera/parcels/CDH/lib/hadoop/etc/hadoop
EOF
source /etc/profile- Hive链接信息:
- url: jdbc:hive2://47.92.37.247:10000/ispong_db
- hive.metastore.uris: thrift://isxcode:9083
- username: cdh
- yarn-web: http://47.92.37.247:8088/cluster
优化配置
- 根据提示优化配置
- 修改hive的连接数
hive.server2.thrift.max.worker.threads: 2000
SELECT hive_open_connections,hive_open_operations FROM ENTITY_DATA;
show variables like '%max_connections%';
yarn的资源配置
yarn.nodemanager.resource.cpu-vcores: 8
yarn.nodemanager.resource.memory-mb: 16GB
yarn.scheduler.minimum-allocation-vcores: 1
yarn.scheduler.minimum-allocation-mb: 2GB
yarn.scheduler.maximum-allocation-vcores: 4
yarn.scheduler.maximum-allocation-mb: 4GB赋予用户操作权限
groupadd supergroup
usermod -a -G supergroup cdh
newgrp supergroup
创建用户目录
hdfs dfs -mkdir /user/cdh
hdfs dfs -chown cdh:supergroup /user/cdh